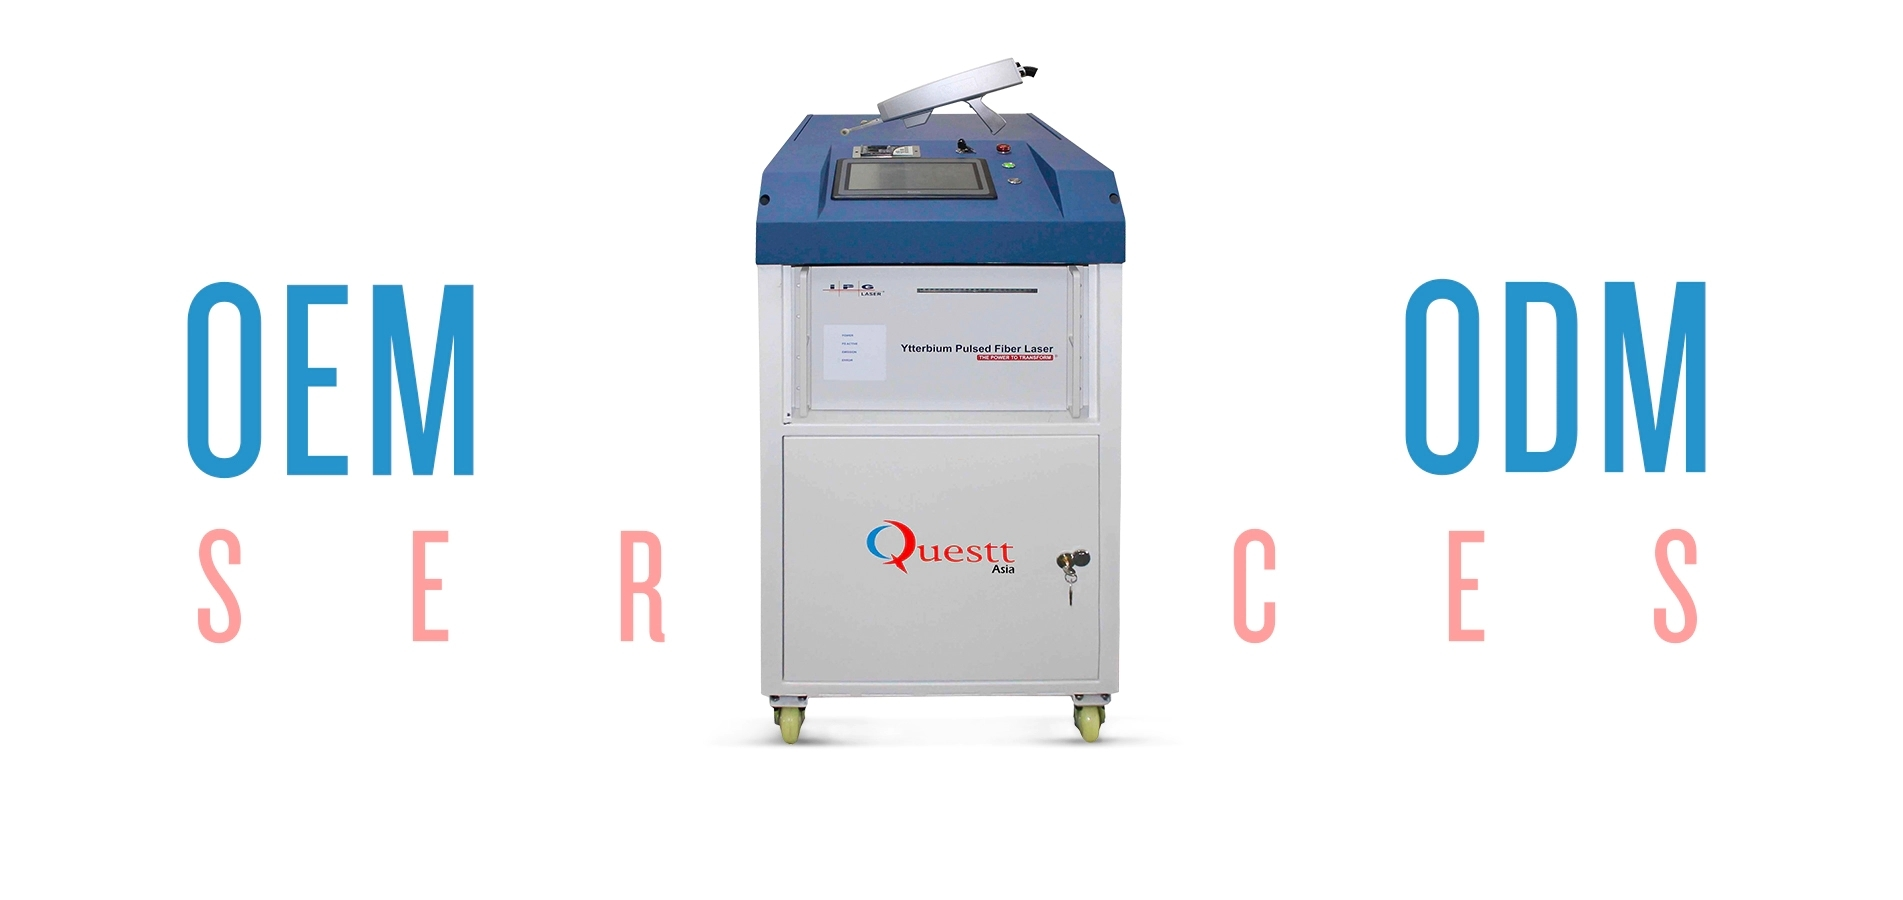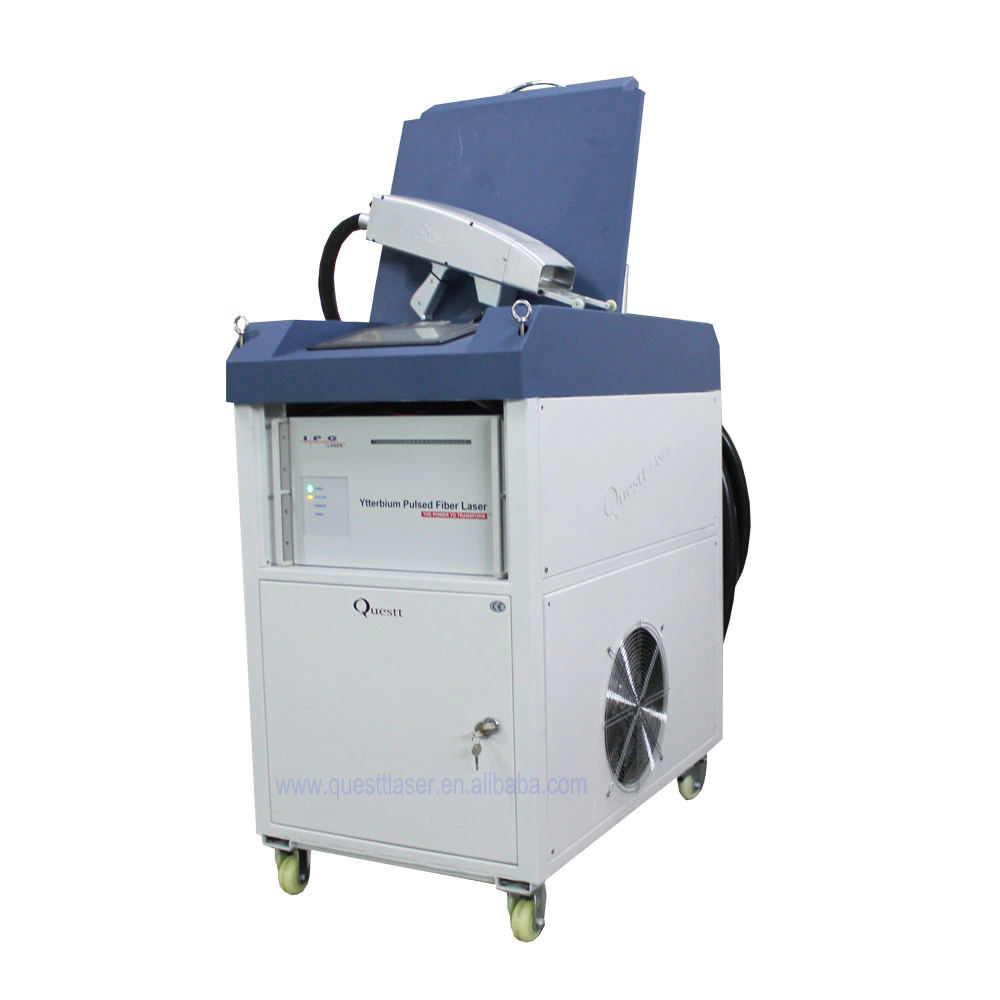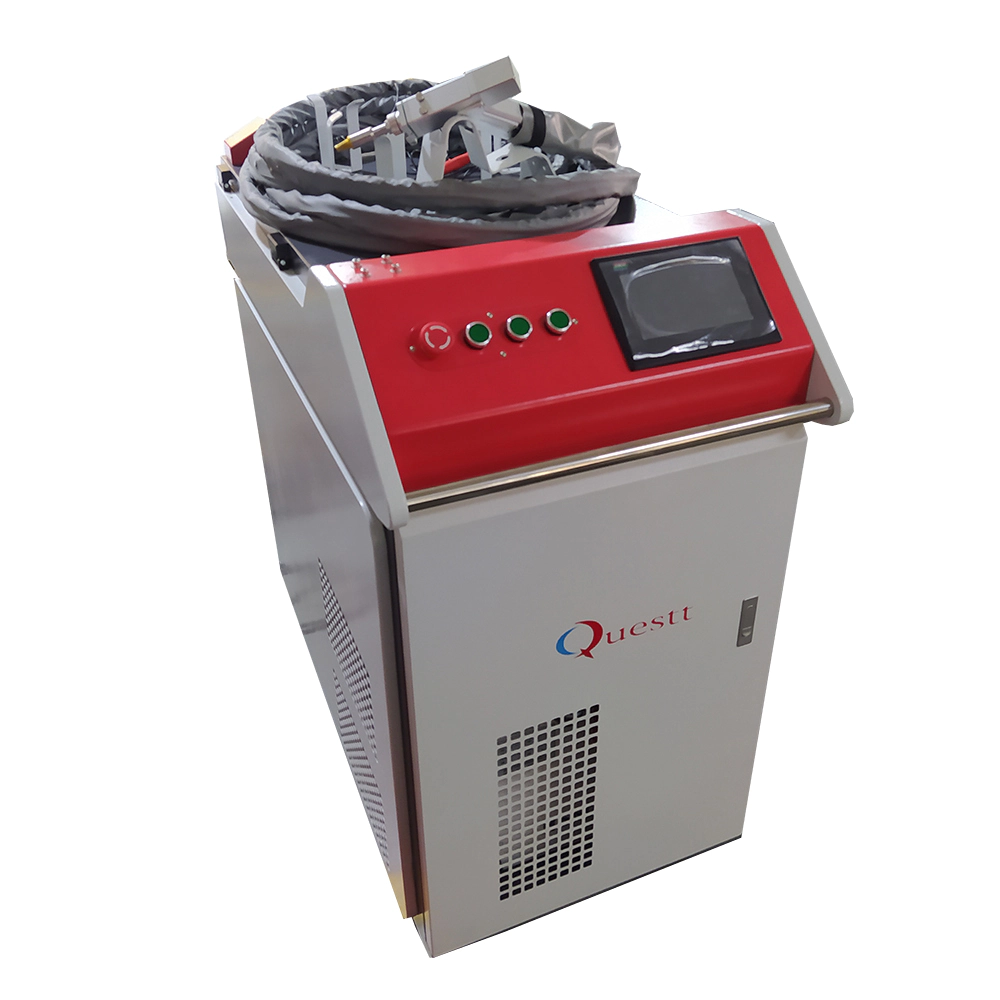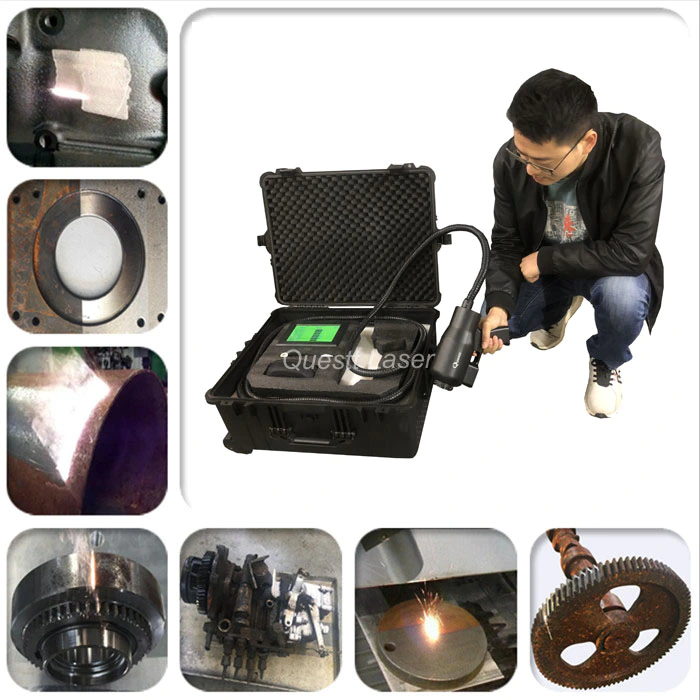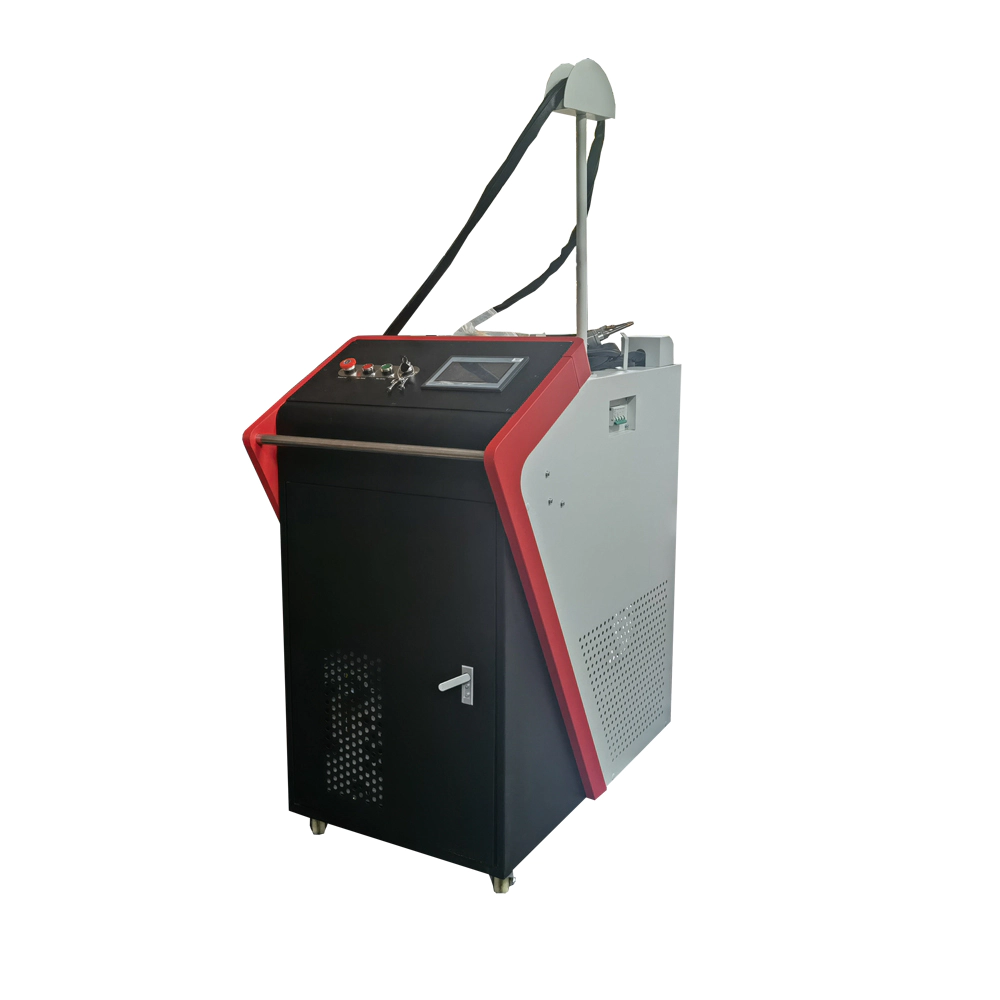
Advantages of laser rust cleaners
DIY Arduino Mini Laser Engraver
by:QUESTT
2020-06-27
Hi all, in this Instructure I am working on an awesome mini laser sculptor from the old DVD writer.
This is a magical machine.
You can do any type of design, logo, art on the surface with this laser engraving machine, such as wood, medium fiber board, plywood, VNYL paper.
Make a little more difficult
Resolution Laser cutter for DVD burner.
But I tried to do a very close one.
In this note I will show you the whole process of how I can make this DIY Laser sculptor.
Let\'s get started :)
If you like this project, then don\'t forget to vote for me, I am attending Maggie CONTESTPROJECT inspir and I got the idea of this laser sculptor from Maggie Shah.
This is the version of his laser sculptor.
I mixed his project with my own style.
Here is the full video tutorial video needed to make this project.
Tool list: we need two DVD writer mechanisms for this project. One for X-
Y axis and another y axisAxis.
You can find this DVD burner from a damaged CPU or local hardware store.
I also bought it from the local hardware store at a very cheap price.
It\'s time to remove the DVD writer.
Here, I made the frame with 5mm acrylic.
This is a very good choice for each DIY project.
Personally, I often use this piece of paper to make the case for my DIY project.
Easy to cut, bend and Polish.
I made printable templates to make the laser engraving more stable.
In this step, I will weld the wire of the stepping motor.
Follow the steps below to weld the wires correctly.
In this, I will make the holes to install the sliding mechanism.
Here, before installing the sliding mechanism onto the engraving frame, I connect 6mm stand-off gaskets with the sliding mechanism.
This will help reduce vibration in order to obtain high precision engraving.
Now let me install the sliding mechanism.
Now we need to connect the engraving platform.
I started connecting 3 cm square acrylic with strong glue.
After that, I attached the main engraving platform.
Size of 9x9 cm.
It is best to use the metel grill on the engraving platform.
In this project, I use a custom designed circuit board to provide a more professional touch.
So I chose JLCPCB to design and order a custom designed PCB for this project.
Link to the circuit scheme file of jlcjun jlcpcb (
Shenzhen jialichuang Electronic Technology Development Co. , Ltd. , Ltd. )
Is the largest PCB prototype enterprise in China and
Technical manufacturer specializing in the production of fast PCB prototypes and small PCB
Mass production of PCB.
JLCPCB has more than 10 years experience in PCB manufacturing, more than 200,000 customers at home and abroad, more than 8,000 PCB prototype online orders and a small amount of PCB production every day.
Annual production capacity of 200,000 square meters. m.
For various 1-layer, 2-layer or multi-layer PCBs.
JLC is a professional PCB manufacturer with large scale, good equipment, strict management and excellent quality.
You can get the relevant download file for the circuit (PDF)file from here.
As you can see in the picture above, the PCB is made very well, I have the same PCB design we did for the motherboard, all the labels and signs are there to guide me in the welding steps.
If you would like to order the same circuit design, you can also download the Gerber file for this circuit from here.
If you want to design your own version of the PCB, you can design it on the JLCPCB family website, which is called EasEDA.
Designing pcb for DIY project is very simple and easy.
It\'s welding time now.
Use clean fine pads.
First, I first weld all the small parts, such as the head pin, and then weld the other parts according to the circuit diagram.
You can make this circuit on the perf board.
Very simple and easy.
Just follow the circuit diagram I mentioned above.
But first, put it on the beard board and check that everything is OK, then you can go and install the pref board of the Arduino and A4988 motor drivers.
In GRBL, the digital and analog pins of the Arduino are retained.
The \"step\" pins of the X-axis and y-axis are connected to the digital pins 2 and 3, respectively.
The \"dirty\" pins of the X-axis and y-axis are connected to the digital pins 5 and 6, respectively.
The D11 is used for laser enabling.
Arduino is powered via a USB cable.
A4988 drive via external power supply.
All the ground has a common connection.
The VDD of the A4988 is connected to the 5 v of the Arduino.
The laser I use runs on 5 v and has a constant current circuit built in.
Constant 5 v power supply for external power supply LM7805 voltage regulator.
Radiator is a must. The IRFZ44N N-
When receiving a digital high signal from the Arduino\'s pin D11, the channel MOSFET is used as an electronic switch.
Note: the 5 v of the Arduino nano cannot be used because the laser absorbs more than 250 mA and the Arduino Nano cannot provide that much current.
Configure micro stepping for each axis.
MS0 MS1 MS2 microstep resolution.
Low full steps.
Half Step high and low.
Low and low quarterly steps.
The eighth step of high and low.
Sixteen steps high. The 3 pins (
MS1, MS2 and MS3)
It is one of the five-step resolutions selected according to the above truth table.
These pins have internal pull
So if we get the resistor disconnected, the board will run in full step mode.
I used a 16-step configuration to smooth and noise-free. Most (
But certainly not all)
Step motor 200 steps per turn.
By properly managing the current in the coil, the motor can be moved in smaller steps.
Pololu A4988 can move the motor in 1/16 steps-
3,200 steps per revolution.
The main advantage of micro-stepping is to reduce the roughness of motion.
The only exact location is full. step positions.
The motor will not be able to hold the torque in one of the intermediate positions with the same position accuracy or the same holding torque as the entire step position.
In general, full steps should be used when high speed is required.
Now is the time to connect the laser module.
What I am using here is the 250 mW 6nm focusable laser module.
For long term performance, you have to connect the radiator you need.
You can buy the radiator from the online store or use the old motherboard radiator I made here.
Just break some pins of the radiator and install the laser module.
Heat sink with X-using strong glue-Axis slider.
Now, install the circuit with the engraving frame using the 4xM3 hex nylon screw.
After installing the circuit board, insert the step motor and the laser module connector.
What is the GRBL firmware?
GRBL is the firmware of Arduino board (
Uno, Nano, Duemillanove)
Control the stepping motor and the Spindle/laser.
GRBL uses gcode as an input and output signal via Arduino pins.
LaserGRBL is one of the best Windows GCode streamers for DIY Laser sculptors.
LaserGRBL is able to load and stream GCode paths to arduino and engrave images, pictures, and logos using the internal conversion tool.
First, adjust the laser points as small as possible.
Then select the picture you want to engrave.
Remember that the engraving settings are different for different types of surfaces.
I hope this tutorial will help you to build your own Arduino laser engraving machine.
If you make your own laser engraving, please send a photo in the comments section.
I\'m excited to see your own creation.
I will continue to update this note.
Thank you for looking at the project, I hope you enjoy the project, follow me if you like, I will continue to post awesome new projects.
Also, don\'t forget to subscribe to my YouTube channel.
Custom message
Related Products