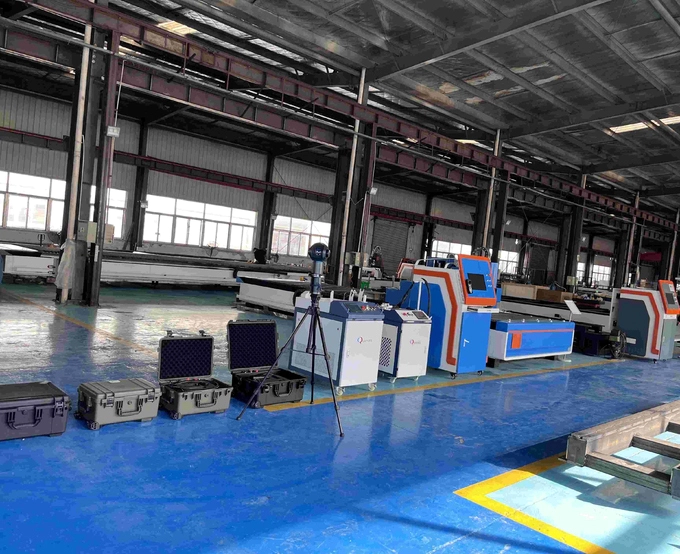
Algeria customer visited our factory on June 28
Build a Laser Cutter Fume Extractor
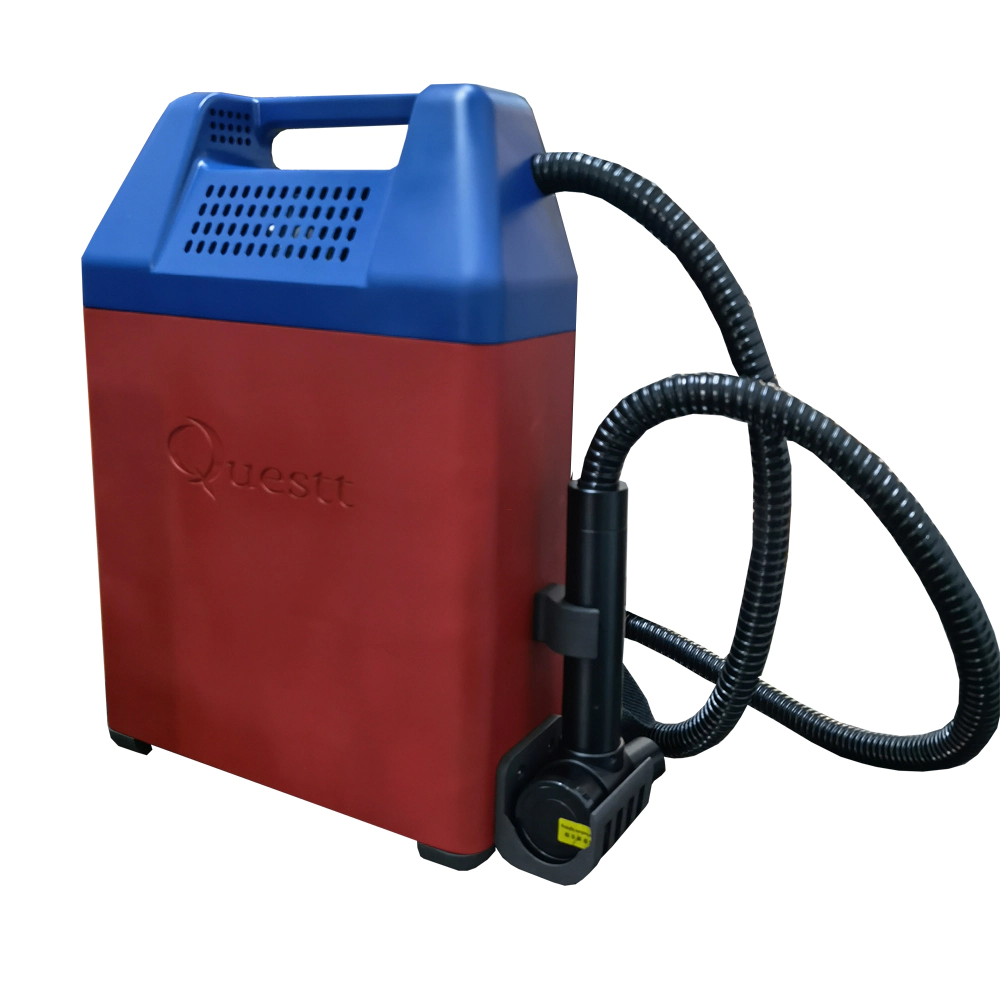
by:QUESTT
2020-06-24
I made my first laser cutting machine in 1996 and immediately learned that the laser cutting machine \"stinks \".
Well, at least the smoke from cutting off the smell is very bad and very harmful to breathing.
After trying several smoke extraction options, I found the ElectroCorp RSU filter back in 2002.
It\'s a bit expensive, I think I paid $1500, but the worst smoke extraction from the cut acrylic was also done well.
Fast forward 2013, I called ElectroCorp to buy replacement filters for my unit and found out that the original company was sold and is now run by another company.
The new company claims to offer the same replacement filter, but after nearly three months of back and forth with them, it turns out that their filter is no longer the same, the cost is higher and it doesn\'t look very robust.
Going through this challenging and frustrating process with them makes me think.
Take a closer look at how my old unit works and obviously I can easily build a similar unit so that I can use off-the-
Shelves and ready-made parts.
I think I will document the process so that someone else who uses a laser cutter can try to do so.
Depending on the supplies you place around the workshop, you should be able to build one of them for $400 to $450. Here\'s how. . .
I started doing jigs for my router.
If you have a circular cutting fixture, you can obviously skip this step.
We need to cut two inner rings and two outer rings, plus the top and bottom plates (
Please note that there is no 6 inch hole in the center of the bottom plate).
I cut the top and bottom plates out with a clamp saw.
Remember to bring all your safety gear!
I think it\'s easiest to do this now.
Just screw them on the substrate (
The one without holes).
The IThe goal is to eventually manufacture two cylinders, the setting of the inner outer ring is a little higher than the hepa filter, and the hepa filter is 12 \"high.
I started by cutting the strip 1/4 \"silk cloth 12\" wide.
I nailed this to the outside of the smaller inner ring and the inside of the larger outer ring so that the total height of each cylinder is 12-1/8\".
Then I lined the wire with fine window gauze.
I used a lot of staples because I wanted to make sure it didn\'t separate and there was no gap between the wood and the grid.
I drew a circle on the bottom plate so I knew where the inner cylinder was.
Then, I ran around the circle with the caulking beads and squeezed the cylinder in place.
I did the same with the external cylinder.
Carbon is like a potato bag.
I suggest you put it in the box for shipment as there is tiny carbon dust in the bag.
I just used a cup to fill up the space between the two grids.
It\'s a bit confusing, so I\'ll do it on the surface that you don\'t mind spilling a little carbon.
It\'s a good idea to put on the dust cover and gloves for this step.
Clean all carbon dust on the top edge of the inner outer ring.
Vacuum the center area.
Apply weather stripping to the inner outer ring.
I also added some weather stripping on the lower side of the top plate.
I cut a circle from the shelf liner and it is about the same size as the outer diameter of the hepa filter.
Then I put it in the center area so the hepa filter is on top and there is no smoke leak under it.
To avoid your frequent replacement of the hepa filter, there is a pre-
Filter the filter of \"big\" particles.
I cut an 11-for success-
3/4 \"silk cloth\" of 1/4 \"x 25\", rolled into a cylinder with overlapping ends of about 2.
Then I fixed it together with some tape wrapped around the top and bottom edges.
I cut the 1/4 \"Duck brand foam to fit inside the cylinder, and both layers of the 3 m Filtrete filter fit outside the cylinder.
A piece of gaffers tape holds the 3 m filter together.
Cutting cardboard with a laser is a breeze, but you can also cut it by hand.
Take a look at the DXF file in the attachment.
The baffle needs to be close to the pre-filter.
It should be easy to know how it fits together.
I used a little heat.
Make sure there is no leaking glue.
You may need to adjust the size slightly if your pre-
The size of the filter cartridge is slightly different.
I cut the rebar into 15 \"and tied everything together.
You will want to tighten all the bolts evenly to directly compress the weather stripping.
I cut off the male end of an old extension cord and connected it to the junction box of the fan.
I used a Romex clip to relieve the pressure.
Then I plug the extension cable into the variable speed router controller (
This is just a high current rheostat).
You can add an on/off switch, but I like to turn off the fan when cutting thin material like paper so it doesn\'t blow around.
My old unit has this blue fuzzy filter on the outside of the carbon filter (
See the picture at the beginning of this illustrated).
I never know why it\'s there because carbon is doing so well in removing smoke.
What can be filtered out?
Luckily, Soundgod06 posted a comment asking if I saw a carbon dust explosion when I opened the filter.
The answer is no, I don\'t see any dust but it makes me think. . .
Just because I can\'t see it doesn\'t mean it\'s not there. Ah ha!
That\'s why the blue fuzzy filter is there.
It can catch any carbon dust introduced by the blower.
It\'s simple to add, I just ordered a roll from McMaster for $19, cut it into a plate that fits the top and bottom, and press it in place.
I just overlapped the filter material at the end and hid the free end behind one of the screw bars.
It is very good there.
Plug it in and flip the switch!
It should be well painted in high school.
It\'s hard to say what the final CFM rating is, but it seems enough to evacuate my laser.
It is not guaranteed that this filter filters out 100% of harmful smoke, so please take the risk on your own.
So far, it works well for me.
Custom message
Related Products