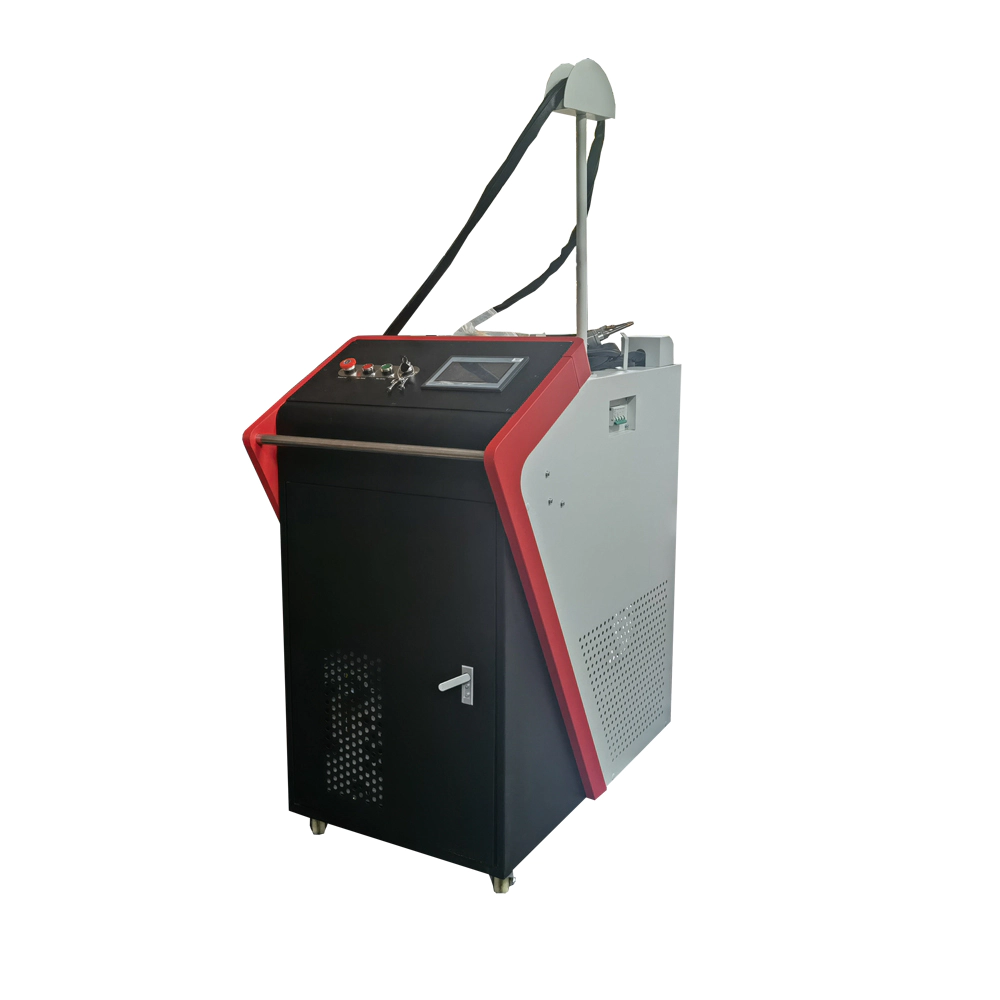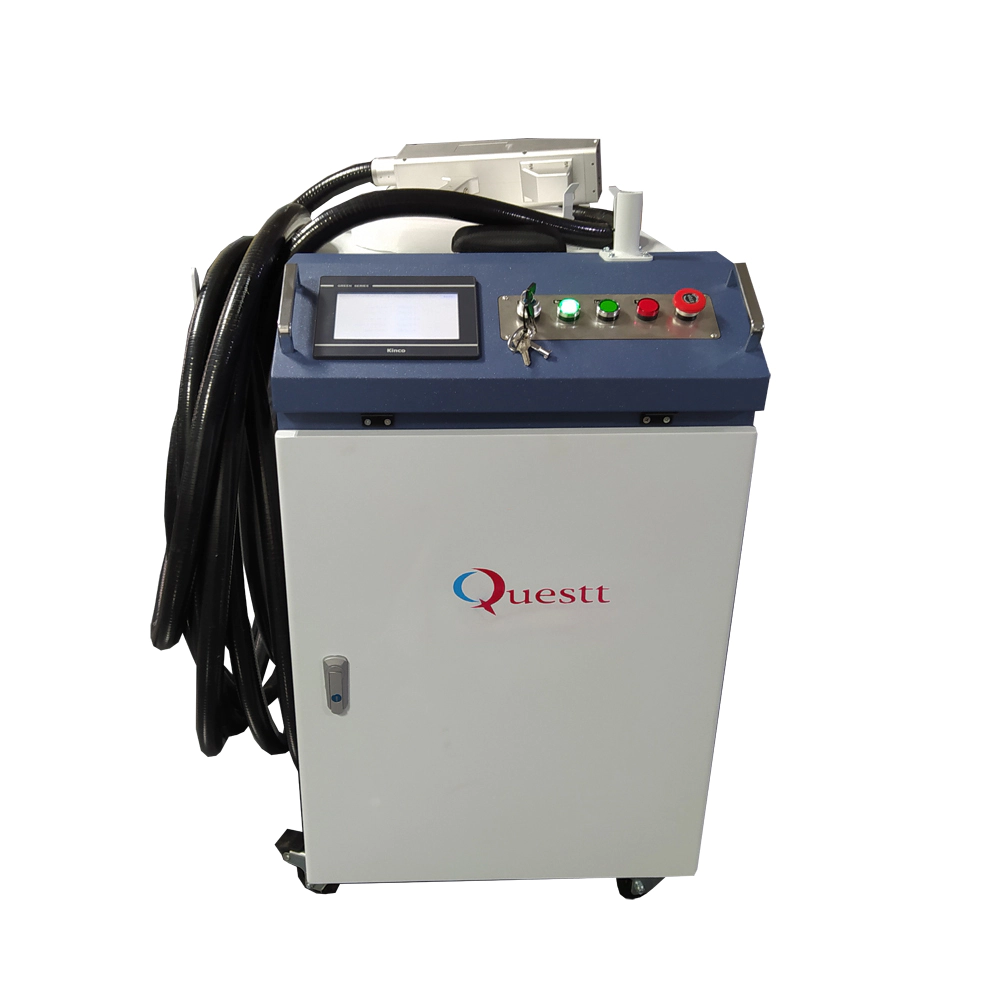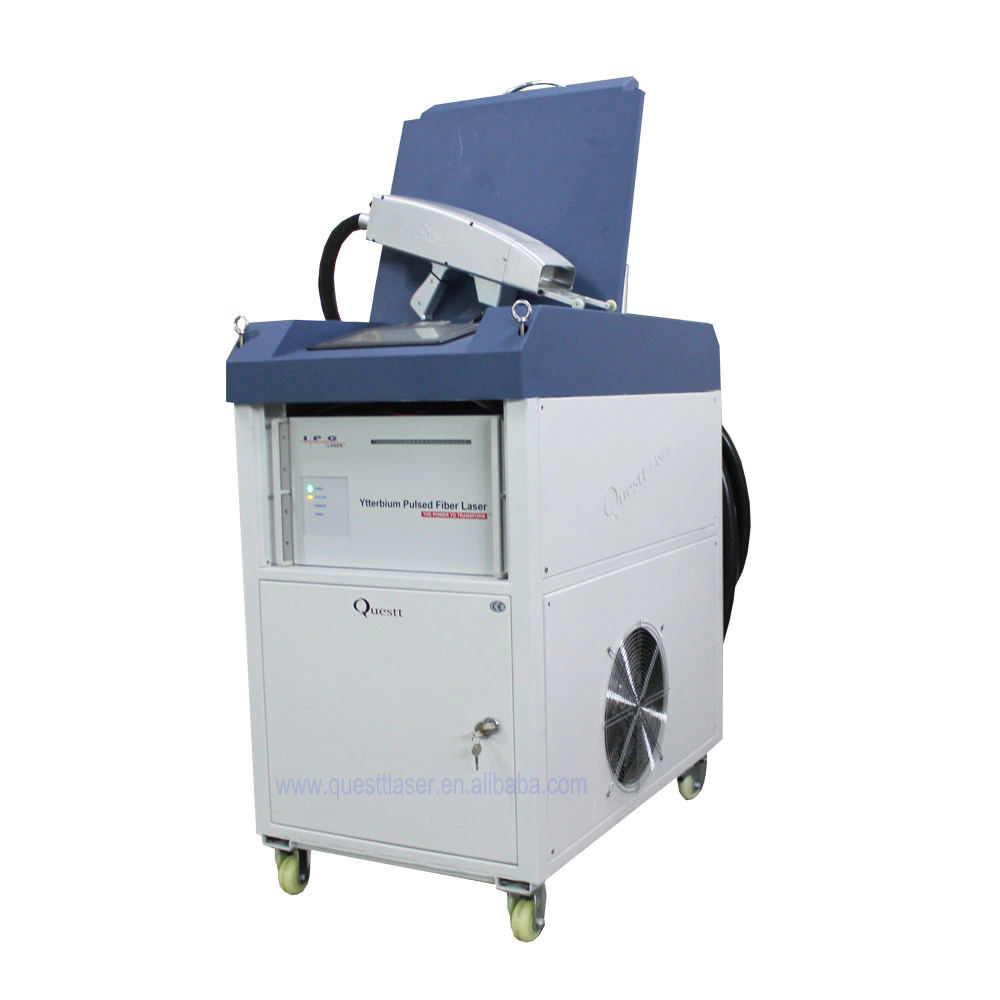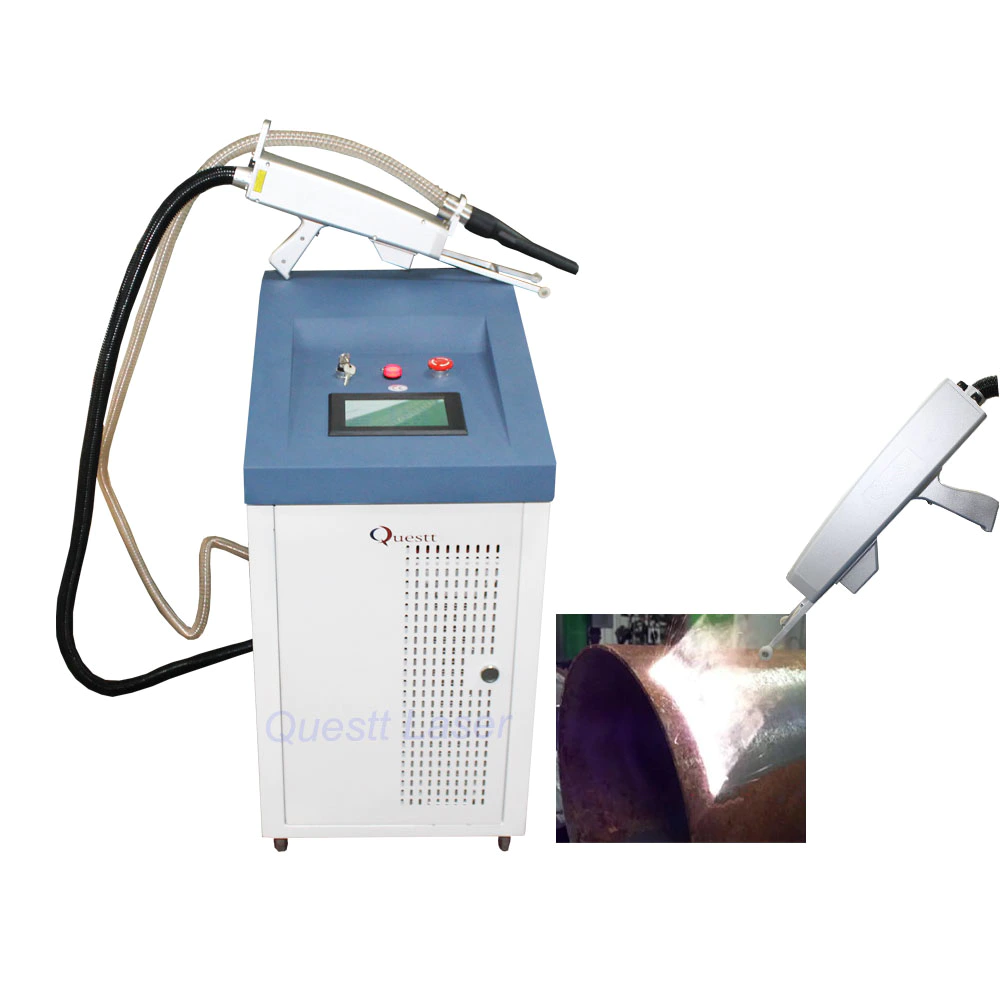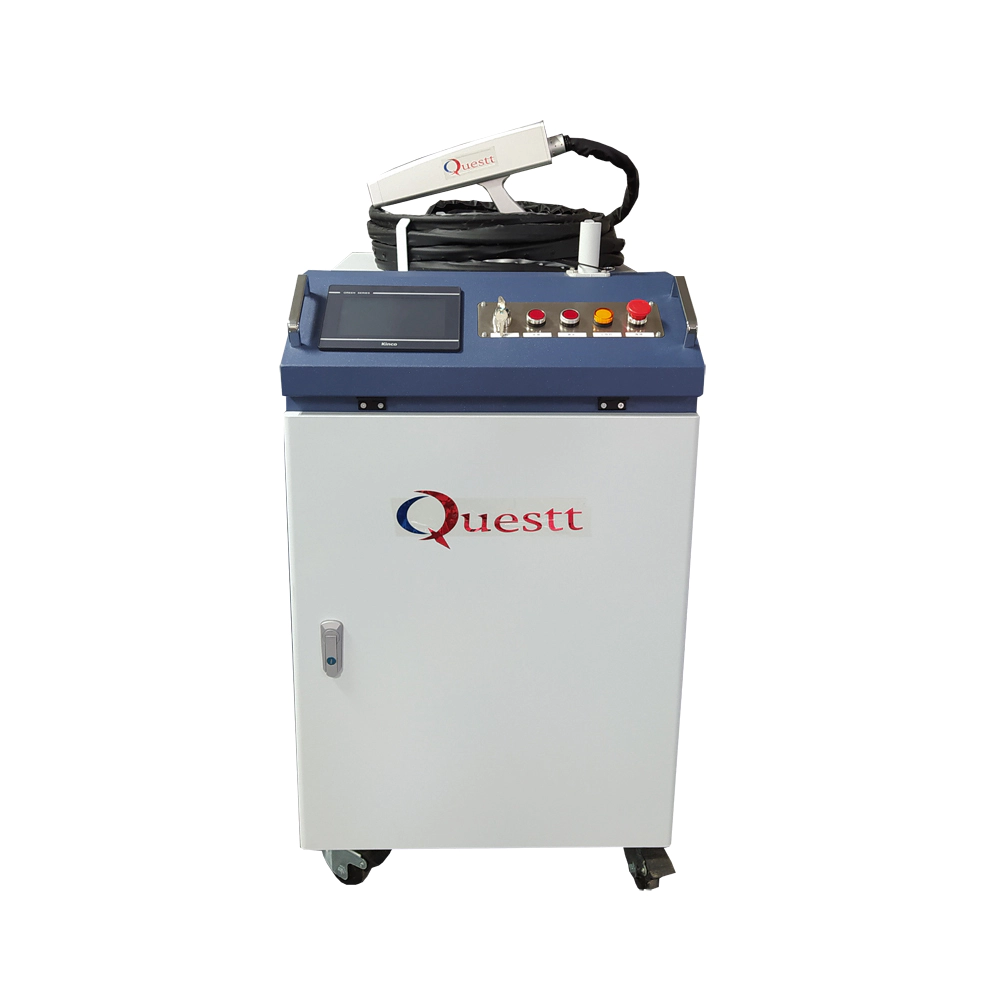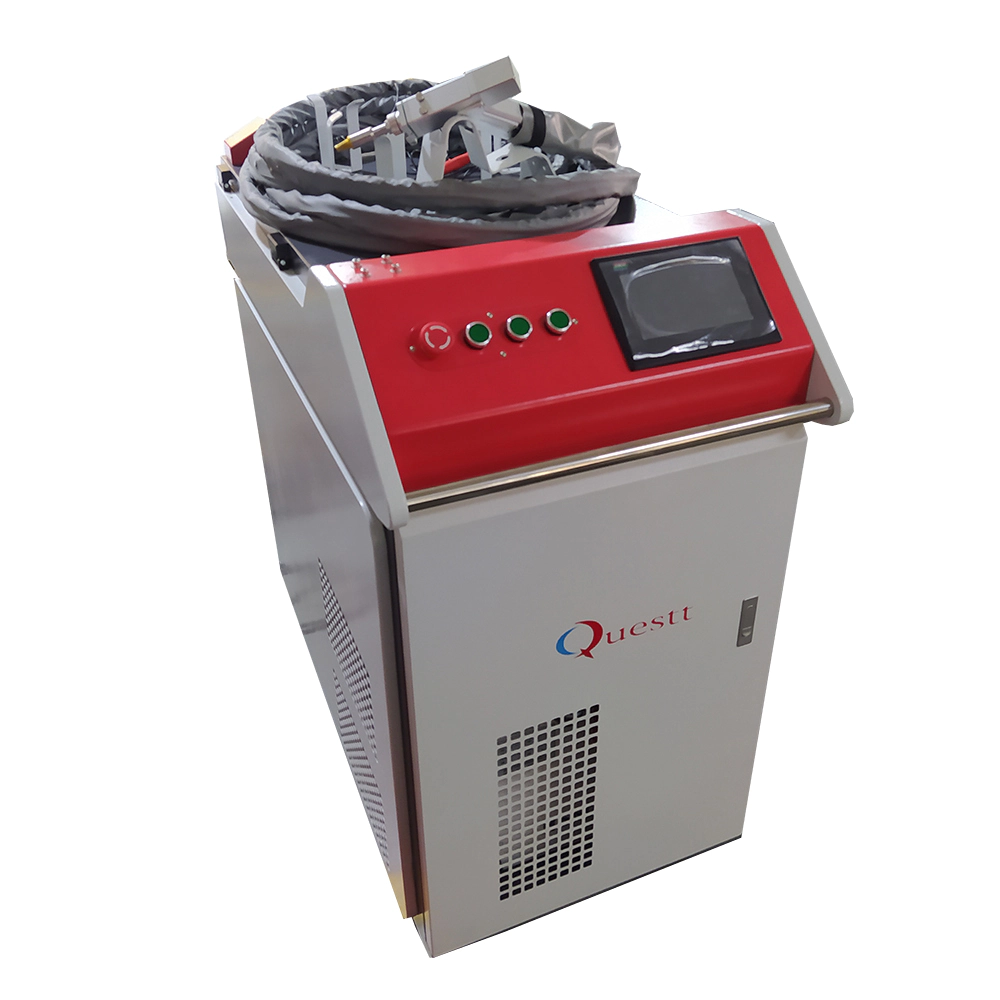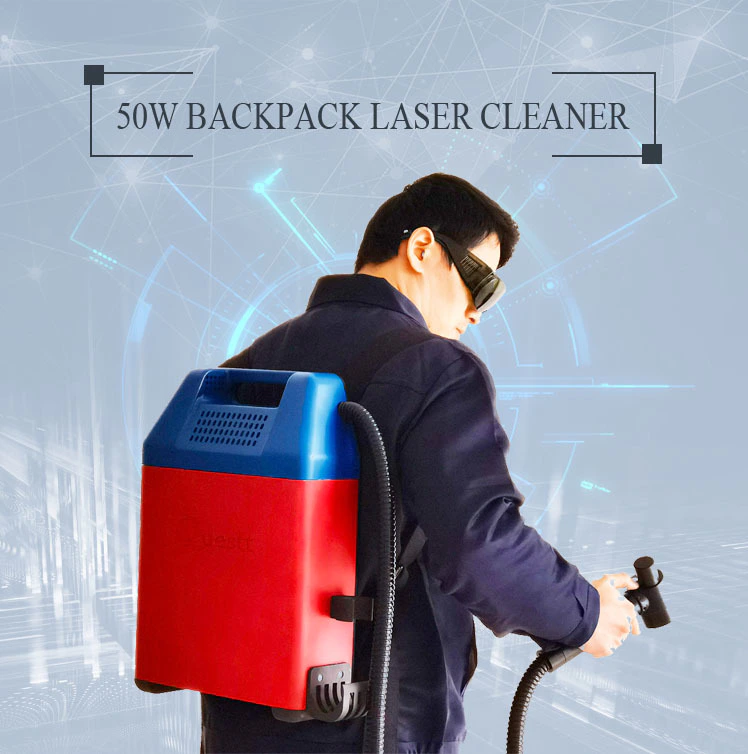
Air-cooled laser welding machine and water-cooled welding machine
How To: Laser Engraver!
by:QUESTT
2020-06-21
We \'ve all seen videos or instructions showing laser-cut objects and projects, and I\'m sure that we manufacturers want to know the cost of one of these machines.
Sadly, any powerful tool will be out of my budget, but since I\'m just looking for a machine that can cut thin materials like paper, cards and thin skins, I stumbled upon this sculptor, a kit purchased from China Gearbest.
You can buy laser here: Gearbest-
Laser engraving is important: it\'s not sponsored, Gearbest sent me a project to review and they didn\'t pay me otherwise, I only expressed my opinion, this instruction is not meant to promote the machine so people use it because there are no other instructions.
Update: Both benbox and GRBL controllers seem to have broken the download link, and I can suggest two alternatives: lite fire laser: this is another piece of software that I have found that works for this machine, but please make sure you have a machine running windows 7 or later.
Can be found here :(
I will find this link soon)
Another more difficult but effective alternative is the universal gcode sender, watching tinkernuts videos about how to use it.
Can be found here: LINK-
Gcode senderin in the kit you should get :(1. )
Aluminum Extrusion (
2 small, 3 big)(2. )
Month nema17 stepping motor (3. )
A box of screws, timing belts, pulleys and washers (4. )
All kinds of 4mm acrylic panels (5. )
3 Step control cable (6. )
Grbl controller board (7. )safety goggles(8. )a laser! (9. )a usb cable(10. )
Some aluminum connectors we will start the assembly by building the bottom rail that will be rolled in the x compartment: Material :(1. )
Aluminum bracket (picture 7)(2. )medium bolts (
Mark in Picture 3)(3. )
2 small aluminum extrusion (
Mark in Picture 6)(4. )
2 large aluminum profiles (
Mark in Picture 6)(5. )nuts (
Mark in Picture 3)assembly:(1. )
Push the nut into the groove on one of the grooves of the smaller Rod and keep it around 1 cm. (2. )
Insert the bolt into a hole on the bracket. (3. )
Screw the bracket onto the bolt in the groove channel (picture 1)(4. )repeat steps 1-
3 for both ends of the small aluminum rod at the other end and at the other end. (5. )
Perform step 1 at both ends of the larger extrusion and fix the smaller extrusion bolts on them.
Now that we have built the main frame, we need to build the carriage that will run on it: Material :(1. )
Acrylic sheet (picture 1)(2. )long screws (picture 2)(3. )8 bearings(4. )nuts (
Mark in picture 2)(5. )
8 nylon gasket (picture 3)(6. )
2 nema17 stepping motors (picture 1)assembly:(1. )
Push 4 long bolts into an acrylic plate (picture 5)(2. )
Slide a nylon gasket onto each bolt (picture 6)(3. )
Push a bearing to each bolt and add a nut to fix it in the appropriate position (picture 7)(4. )
Using 4 small bolts to bolt on the stepping motor we will build the laser assembly, which will connect to the two compartments we built at the last step: Material :(1. )
8 nylon gasket (picture 2)(2. )long bolts (picture 3)(3. )4 washers (
Mark in Picture 4)(4. )4 nuts (
Mark in picture 2)(5. )laser module (
Mark in Picture 7)(6. )
Assembly of two acrylic laser gantry :(1. )
Grab the long screws and push them into the 4 holes of the Ya acrylic board (picture 5)(2. )
Insert the nylon gasket onto these rods (picture 5)(3. )
Push the gasket over the gasket (picture 6)(4. )
Finally, add a gasket to each board and push the second acrylic board with some nuts (picture 4)(5. )
Screw 3 smaller bolts into the back of the laser and slide through the provided holes, we have built all the main components and now all we have to do is combine them: materials :(1. )
Laser components (step 3)(2. )2 gantries (step 2)(3. )
Some medium bolts (
Mark in Picture 3)(4. )frame (step 1)(5. )
Other aluminum extrusion components :(1. )
Slide two gantries onto the frame (picture 1)(2. )
Slide the laser assembly onto the remaining aluminum extrusion (picture 2)(
Temporarily ignore the band)(3. )
Slide the laser into two Gans (picture 4)
The most difficult point now is: Wear and tighten the timing belt: Material :(1. )
6 Acrylic Buckle (picture 3+4)(2. )6 small bolts (
Mark in Picture 4)(3. )6 small nuts (
Mark in Picture 4)(4. )
Timing Belt Assembly:1. )
Pass small bolts and nuts through small holes on all acrylic fasteners (2. )
Slide the nut into the groove at the end of all large aluminum profiles. (3. )
Push the timing belt up through one of the fasteners and fix it on the nut inside the groove using a medium Bolt. (picture 6)(4. )
Push the belt under the gasket on the laser assembly and feed it up and down on the gear. (picture 6)(5. )
Repeat step 3 at the other end to make sure the belt is tight on the gear and then trim the excess belt. (6. )
Do this for y gantries.
To complete the physical construction of the laser, we only need to add the end point and control board: Material :(1. )control board (picture 5)(2. )
Acrylic end plate (picture 2)(3. )medium bolts (
Mark in Picture 6)(4. )
Acrylic panel for Control Board (picture 7)(5. )
Small bolts and nuts for fastening control panel (6. )
Cable Assembly of stepping motor :(1. )
Twist the end plate to the end of the frame (picture 9)(2. )
Tie the control board to the end board (picture 3)(3. )
The bolts on the panel are attached to the stand on the control panel (4. )
Connect the stepping motor to the control board, insert the two gantry motors into the two sockets marked y, and insert the laser assembled motor into the socket marked x (5. )
Insert the wire in the laser into the socket marked as laser (6. )
Be happy with building it yourself! (picture 1)
Now that all the physical builds have been completed, the last step is the configuration and download of the software;
The software can be found here: Benbox 3.
0 update: benbox software doesn\'t seem to be available to try this one, it\'s open source GRBL software: Insert the laser (2. )
Go to the blue menu in the software and press connect (
Mark in picture 1)(3. )
Find the image you want to laser and open it (
Mark in picture 1)(4. )press play(5. )
Let the laser start!
Note: You may need to adjust the speed, power and cutting type in order to optimize the engraving (
These can be found in the blue menu)
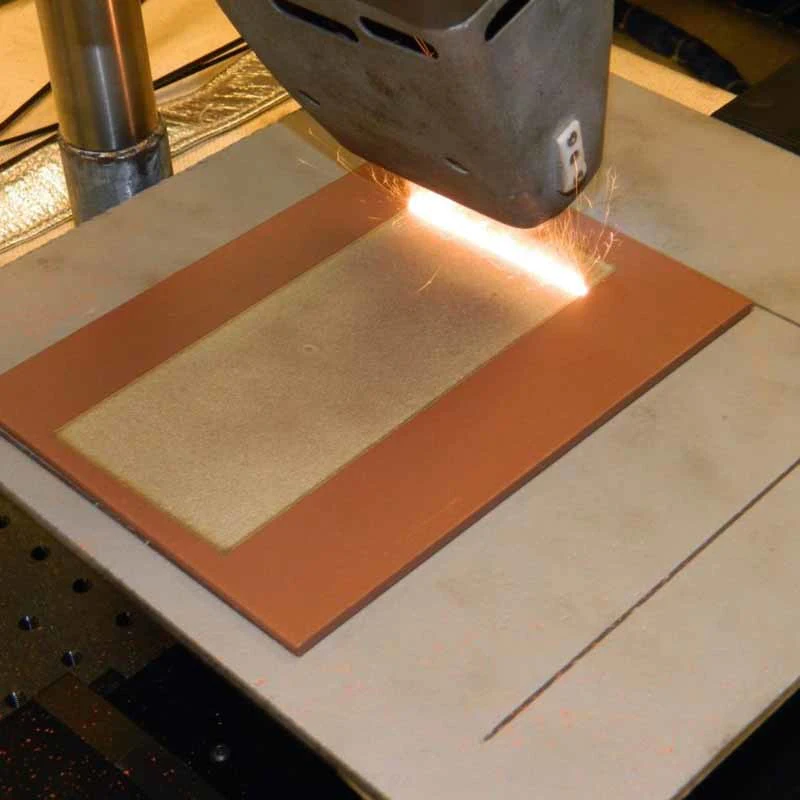
Figure 2: a stamp I carved for stamping things. :)
Figure 3: The end of my video (
Sadly, I never put this in)
Sadly, any powerful tool will be out of my budget, but since I\'m just looking for a machine that can cut thin materials like paper, cards and thin skins, I stumbled upon this sculptor, a kit purchased from China Gearbest.
You can buy laser here: Gearbest-
Laser engraving is important: it\'s not sponsored, Gearbest sent me a project to review and they didn\'t pay me otherwise, I only expressed my opinion, this instruction is not meant to promote the machine so people use it because there are no other instructions.
Update: Both benbox and GRBL controllers seem to have broken the download link, and I can suggest two alternatives: lite fire laser: this is another piece of software that I have found that works for this machine, but please make sure you have a machine running windows 7 or later.
Can be found here :(
I will find this link soon)
Another more difficult but effective alternative is the universal gcode sender, watching tinkernuts videos about how to use it.
Can be found here: LINK-
Gcode senderin in the kit you should get :(1. )
Aluminum Extrusion (
2 small, 3 big)(2. )
Month nema17 stepping motor (3. )
A box of screws, timing belts, pulleys and washers (4. )
All kinds of 4mm acrylic panels (5. )
3 Step control cable (6. )
Grbl controller board (7. )safety goggles(8. )a laser! (9. )a usb cable(10. )
Some aluminum connectors we will start the assembly by building the bottom rail that will be rolled in the x compartment: Material :(1. )
Aluminum bracket (picture 7)(2. )medium bolts (
Mark in Picture 3)(3. )
2 small aluminum extrusion (
Mark in Picture 6)(4. )
2 large aluminum profiles (
Mark in Picture 6)(5. )nuts (
Mark in Picture 3)assembly:(1. )
Push the nut into the groove on one of the grooves of the smaller Rod and keep it around 1 cm. (2. )
Insert the bolt into a hole on the bracket. (3. )
Screw the bracket onto the bolt in the groove channel (picture 1)(4. )repeat steps 1-
3 for both ends of the small aluminum rod at the other end and at the other end. (5. )
Perform step 1 at both ends of the larger extrusion and fix the smaller extrusion bolts on them.
Now that we have built the main frame, we need to build the carriage that will run on it: Material :(1. )
Acrylic sheet (picture 1)(2. )long screws (picture 2)(3. )8 bearings(4. )nuts (
Mark in picture 2)(5. )
8 nylon gasket (picture 3)(6. )
2 nema17 stepping motors (picture 1)assembly:(1. )
Push 4 long bolts into an acrylic plate (picture 5)(2. )
Slide a nylon gasket onto each bolt (picture 6)(3. )
Push a bearing to each bolt and add a nut to fix it in the appropriate position (picture 7)(4. )
Using 4 small bolts to bolt on the stepping motor we will build the laser assembly, which will connect to the two compartments we built at the last step: Material :(1. )
8 nylon gasket (picture 2)(2. )long bolts (picture 3)(3. )4 washers (
Mark in Picture 4)(4. )4 nuts (
Mark in picture 2)(5. )laser module (
Mark in Picture 7)(6. )
Assembly of two acrylic laser gantry :(1. )
Grab the long screws and push them into the 4 holes of the Ya acrylic board (picture 5)(2. )
Insert the nylon gasket onto these rods (picture 5)(3. )
Push the gasket over the gasket (picture 6)(4. )
Finally, add a gasket to each board and push the second acrylic board with some nuts (picture 4)(5. )
Screw 3 smaller bolts into the back of the laser and slide through the provided holes, we have built all the main components and now all we have to do is combine them: materials :(1. )
Laser components (step 3)(2. )2 gantries (step 2)(3. )
Some medium bolts (
Mark in Picture 3)(4. )frame (step 1)(5. )
Other aluminum extrusion components :(1. )
Slide two gantries onto the frame (picture 1)(2. )
Slide the laser assembly onto the remaining aluminum extrusion (picture 2)(
Temporarily ignore the band)(3. )
Slide the laser into two Gans (picture 4)
The most difficult point now is: Wear and tighten the timing belt: Material :(1. )
6 Acrylic Buckle (picture 3+4)(2. )6 small bolts (
Mark in Picture 4)(3. )6 small nuts (
Mark in Picture 4)(4. )
Timing Belt Assembly:1. )
Pass small bolts and nuts through small holes on all acrylic fasteners (2. )
Slide the nut into the groove at the end of all large aluminum profiles. (3. )
Push the timing belt up through one of the fasteners and fix it on the nut inside the groove using a medium Bolt. (picture 6)(4. )
Push the belt under the gasket on the laser assembly and feed it up and down on the gear. (picture 6)(5. )
Repeat step 3 at the other end to make sure the belt is tight on the gear and then trim the excess belt. (6. )
Do this for y gantries.
To complete the physical construction of the laser, we only need to add the end point and control board: Material :(1. )control board (picture 5)(2. )
Acrylic end plate (picture 2)(3. )medium bolts (
Mark in Picture 6)(4. )
Acrylic panel for Control Board (picture 7)(5. )
Small bolts and nuts for fastening control panel (6. )
Cable Assembly of stepping motor :(1. )
Twist the end plate to the end of the frame (picture 9)(2. )
Tie the control board to the end board (picture 3)(3. )
The bolts on the panel are attached to the stand on the control panel (4. )
Connect the stepping motor to the control board, insert the two gantry motors into the two sockets marked y, and insert the laser assembled motor into the socket marked x (5. )
Insert the wire in the laser into the socket marked as laser (6. )
Be happy with building it yourself! (picture 1)
Now that all the physical builds have been completed, the last step is the configuration and download of the software;
The software can be found here: Benbox 3.
0 update: benbox software doesn\'t seem to be available to try this one, it\'s open source GRBL software: Insert the laser (2. )
Go to the blue menu in the software and press connect (
Mark in picture 1)(3. )
Find the image you want to laser and open it (
Mark in picture 1)(4. )press play(5. )
Let the laser start!
Note: You may need to adjust the speed, power and cutting type in order to optimize the engraving (
These can be found in the blue menu)
Figure 2: a stamp I carved for stamping things. :)
Figure 3: The end of my video (
Sadly, I never put this in)
Custom message
Related Products