Laser elements in the Beijing Winter Olympics
Benbox With Eleks Laser Engraver (GearBest /Banggood)
by:QUESTT
2020-04-26
Figure: Gearbest.
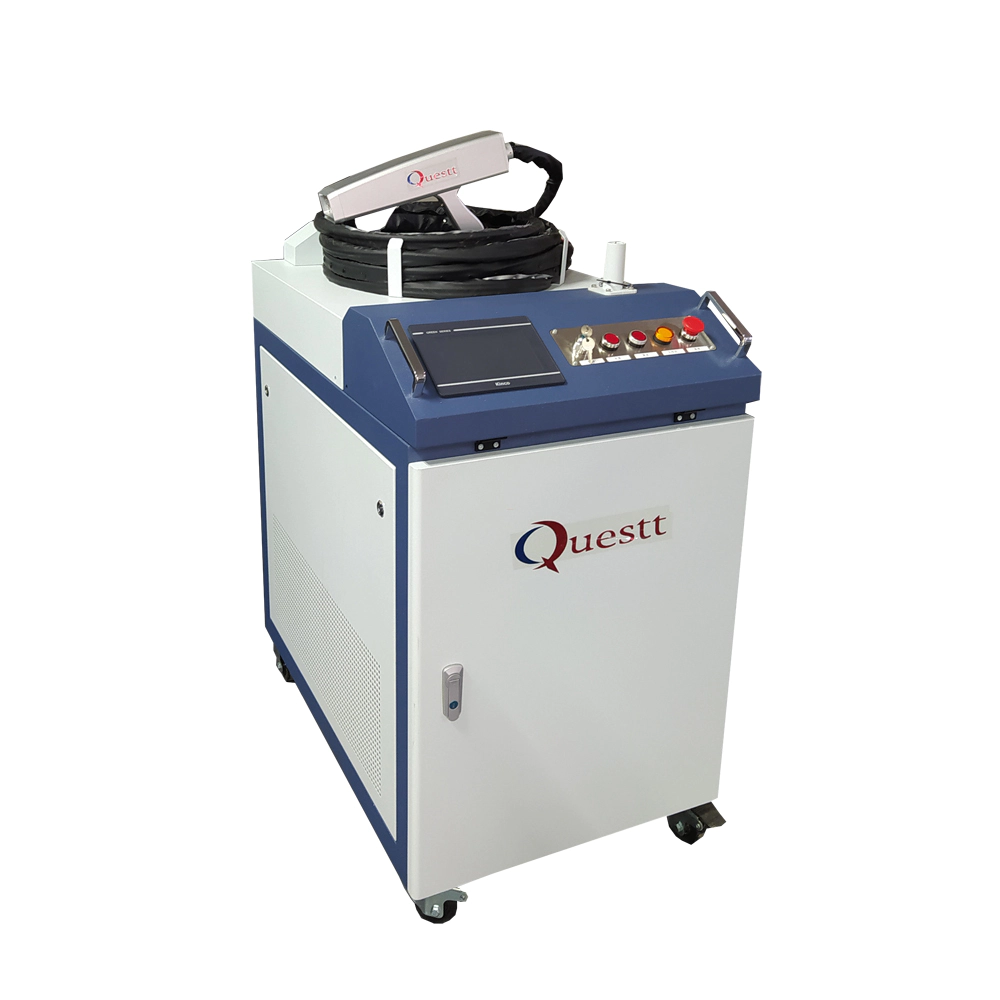
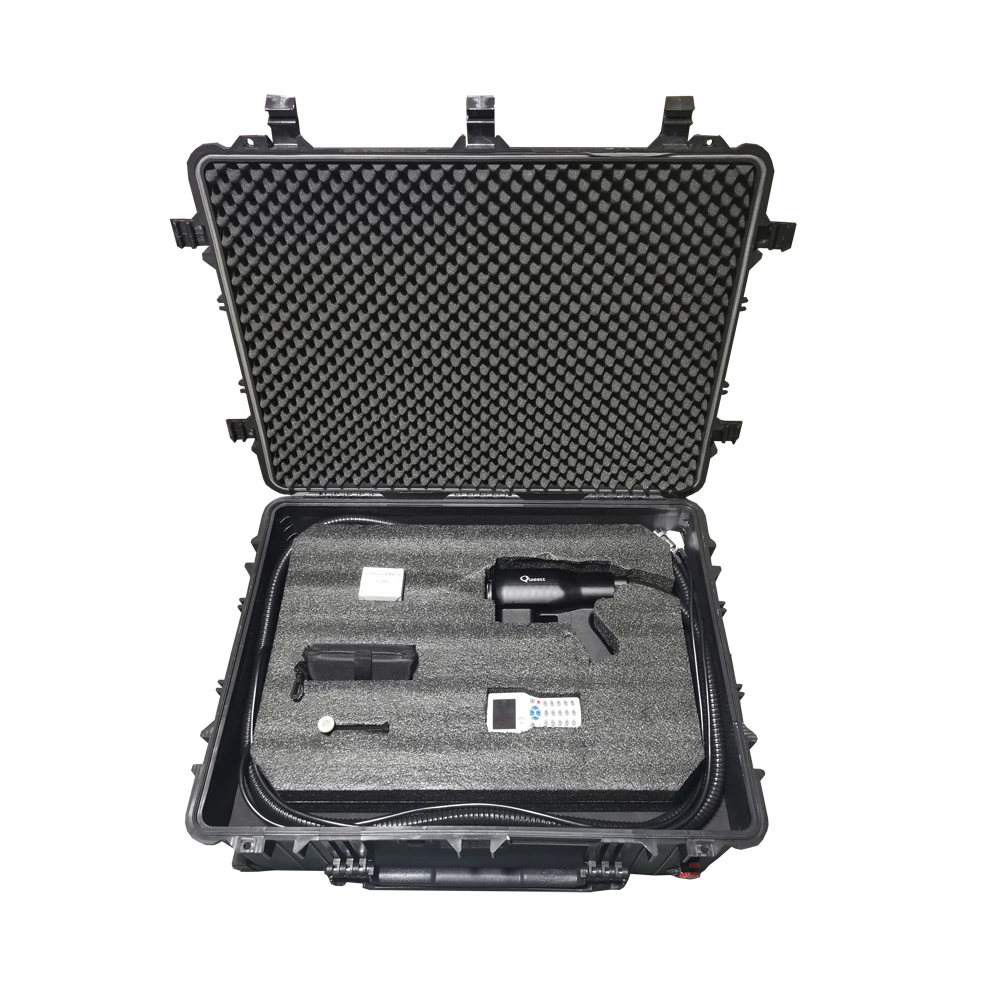
Laser engraving machine (
Substrate not included)
If you \'ve assembled Eleks Laser, skip to the software instructions step.
Hardware construction this document details the following instructions: added some additional tips on the construction and provided more details on wiring, setting up and using Benbox software and drivers
See the instructions above for hardware structure details.
There are a few videos and tutorials on making Eleks lasers, especially GearBest (and Banggood)models.
But most of them lack details, especially in terms of software settings.
GearBest: are some tips and tricks to build your Gearbest or Banggood Eleks laser engraver.
The Instructable above has details, but I found these items as I went through the steps in their tutorial.
Read these through and jump to their tutorial.
Do not over tighten the acrylic bolts to prevent cracking. (
Obviously hope! )
In step 2: The frame assembly uses 1 cm bolts with nuts on the frame. Not the 1. 2cm or 1. 5cm bolts. In step 3: X-
3 cm bolts, acrylic brackets, plastic gaskets, washers, bearings, washers, nuts are used for each bearing assembly.
Orient the stepping motor to the bearing with the gear with the wiring connector. (picture 1)
Build the second x slide frame as a mirror image of the first x slide frame (picture 2)
In Step 4: laser assembly before assembling long screws and bearings connect the laser and stepping with gears to acrylic parts (picture 3 & 4)
The kit includes two plastic wire covers for wiring along the external frame, but you have to install the wire before assembling the pedometer onto the frame.
But mainly aesthetics.
Step 6: belt assembly and installation center (laser head)belt first. Use the 1.
Bolts and nuts 2 cm.
Don\'t cut the belt before you adjust it.
Deliver the entire belt through the second acrylic fastener.
Tighten the fasteners and slide the step Assembly up and down.
It should run smoothly and the belt should remain tight on the stepping gear.
When preparing to cut, stick out at least half an inch or so from the acrylic fastener so you can adjust the tension.
Don\'t cut too short!
After all the installations, about 6 inch of the spare belts are available.
In Step 7: complete the installation of the controller using long bolts, acrylic panels, plastic gaskets, circuit boards, metal brackets.
Put the red cap in two holes of the black plastic cover.
The hat does not need to be attached to the button, but can be placed at the top of the button. (
1, 2, 3)
Miscellaneous best includes two small LED \"dongles\", just like a toy.
Not for laser.
If you plug them into the USB port on your PC, they light up.
That\'s all. that\'s all.
\"How: Laser sculptor!
\"Instructure is good for hardware structure, but a bit thin for wiring and software.
The following packages seem to be the same version at the moment.
I installed the version called \"EleksLaser software. zip”A)
From GearBest web store: \"● Click here if you want to download the hard driver. \"B)
Or from the Banggood Web store: \"The software we uploaded to the Web disk, its download link is: click here\" C)
It should all be version 3 and it is available as well. 7.
99 from what I see. 1.
Open Eleks laser software from any of the above sites. 2.
Navigate to the Eleks Laser \\ Benbox directory and double-click benbox. exe3.
An administrator installation is required. 4.
I installed it successfully on Windows 10. (
But see steps 6 and 7 below)5.
Keep the default value of the driver.
Don\'t bother to install their \"drivers. exe”6.
Note: To get a valid USB driver, I found that installing the Arduino IDE is the best option.
Installing the IDE will automatically install a good Windows 10 driver.
But the driver.
Windows 10 will be installed using exe.
So if you don\'t see the COM port of the laser active (
Using Windows Device Manager-> Ports (COM & LPT)-> USB-SERIAL CH340 (COMXX))
Then go ahead and install the driver.
Exe as administrator. 7.
During the BenBox installation, the Windows Firewall requests to open port 7683 on the local PC.
Select allow \"dedicated\" network (not Public).
This is to allow the lunch GUI to talk to the lunch box (laserdaemon)service (
Both run locally on PC).
It will not open the router firewall to the Internet.
Don\'t worry unless your computer sits directly on the public Internet (i. e. in a DMZ)or a public (unprotected)WiFi network. 8.
After installation, restart the computer.
It is also recommended that you set the program to run as administrator: Right-click the Bento icon, select Properties, click the Compatibility tab, and then choose to run this program as administrator. (see photo)
This allows it to save any settings.
Note: This seems to affect only certain installations of benbox.
I suspect it has something to do with the security level of your user ID.
But it looks OK to open it. 9.
Now you can plug the USB cable and the 12 v power cord into the laser engraver.
Initially keep the 12 v power off. (
Left red power button on Eleks controller not pressed)
12 v running step and laser.
The initial settings are not required. 10.
When ready, double-click the Bento icon on your desktop. 11.
Set the language by clicking on the upper left corner of the small flag and the selection period (or appropriate)(see photo)12.
Next, select the menu icon (
Icons with 3 bars)
And select the serial port for your laser.
If you can\'t see the COM port of your laser, even after unplugging and re-plugging
If inserted, the firewall may block the \"laser daemon \".
Background Process \".
If the Windows Update causes Benbox to exit the display COM port again, repeat this process.
You must install the firmware into the Arduino Nano. 1.
Make sure your laser cutter is plugged in to power and USB.
Turn off the 12 v power button. 2.
Select the lighting bolts icon to upload the hex ROM. 3.
Select COM port (
Probably the bottom of the drop down list)
Note: If you have a problem, please use the alternate firmware instructions on the next page. 4.
Select NANO device 5.
Click Select firmware and navigate to the Eleks Laser \\ Benbox \\ ROM directory and select Eleks-Benbox. hex file (aka. \"LX. hex\")
Click the OK button (
Blue check box)
If there is a problem with the Benbox firmware installation, please try the following:Quit Benboxb.
Download XLoader and LX-
Nano hex file: run XLoader and select LX-Nano hex file (aka LX. hex)
COM port of Nano (AT328), 57600 baud (photo)d.
Start Benbox again.
Now you should be able to see the COM ports available in the menu-
> Serial port drop-down. (
The menu icon is 3 horizontal lines under the text \"Benbox laser engraver)
The screenshot above shows the BenBox command. 1.
Note that some commands are not available (
Black on the screenshot).
Specifically, the laser intensity is invalid.
Always Max.
Control using engraving speed and burning time.
Make sure your settings match the settings in the photo as the starting point. 2.
Use the Green Drawing toolbar on the left to draw an \"inch\" or two straight lines on the screen.
This is just for quick testing. 3.
To erase, right-
Click Cancel drawing mode, then drag the line with the left mouse button to select and click delete key. 4.
Select the menu options shown below.
Please note the tabs for other options. 1.
Put a piece of cardboard or colored paper on the laser bed.
I would recommend putting an 8 \"x 12\" fiber board or plywood on the bed and then putting the test material on it and under the laser.
Otherwise you will burn your desktop or table! 2.
Put on your laser glasses! NO KIDS NEARBY! 3.
Turn on the power button on the Eleks controller board (
Look at the wiring diagram before)4.
Press the weak laser button on the controller to focus the laser and adjust to get a clear beam.
It will be a tiny precise point when focusing.
Do not turn off the weak laser button for more than 30 seconds.
I find I can turn it off and the laser will still glow.
Once focused, I turn off the power button and let it stop the laser. 5.
If off, please turn on the power button again. 6.
Please note that there is laser control on the Benbox menu bar: OFF | n/a | on FULL | Momentary on7.
Click the green play button.
The laser should turn on and burn the line and turn off. 8.
For the sake of safety, I turned off the power button on the controller later! 9.
If all goes well, then the next step is the real fun . . . . . . Learning adjustment.
Jump to the last step if there is a problem: trouble shooting has some limited photo processing tools that are a bit hidden.
It is possible to resize the image by dragging, but not very clean.
It is best to resize the images using the graphics program and then load them. (added 12/2017)
In a patient and slow, methodical work, this part becomes a kind of labor.
When studying, I found that it is best to change a setting at a time, otherwise you can\'t tell which one actually works.
Each material is different, so write down their values when you find them.
Initial settings and values shown in the picture.
These laser engraving machines are relatively cheap, but they do take time and effort, so a lot of things can go wrong.
The best option for trouble shooting is excellent benboxlaser. us forum:HELP!
Go sign up for free help! Update 11/2016-
You need a free registration key.
This forum is very active and will be happy to help you with specific issues.
By using the search feature of the forum, you may find someone else answering the same question.
They have other software products besides the BenBox program.
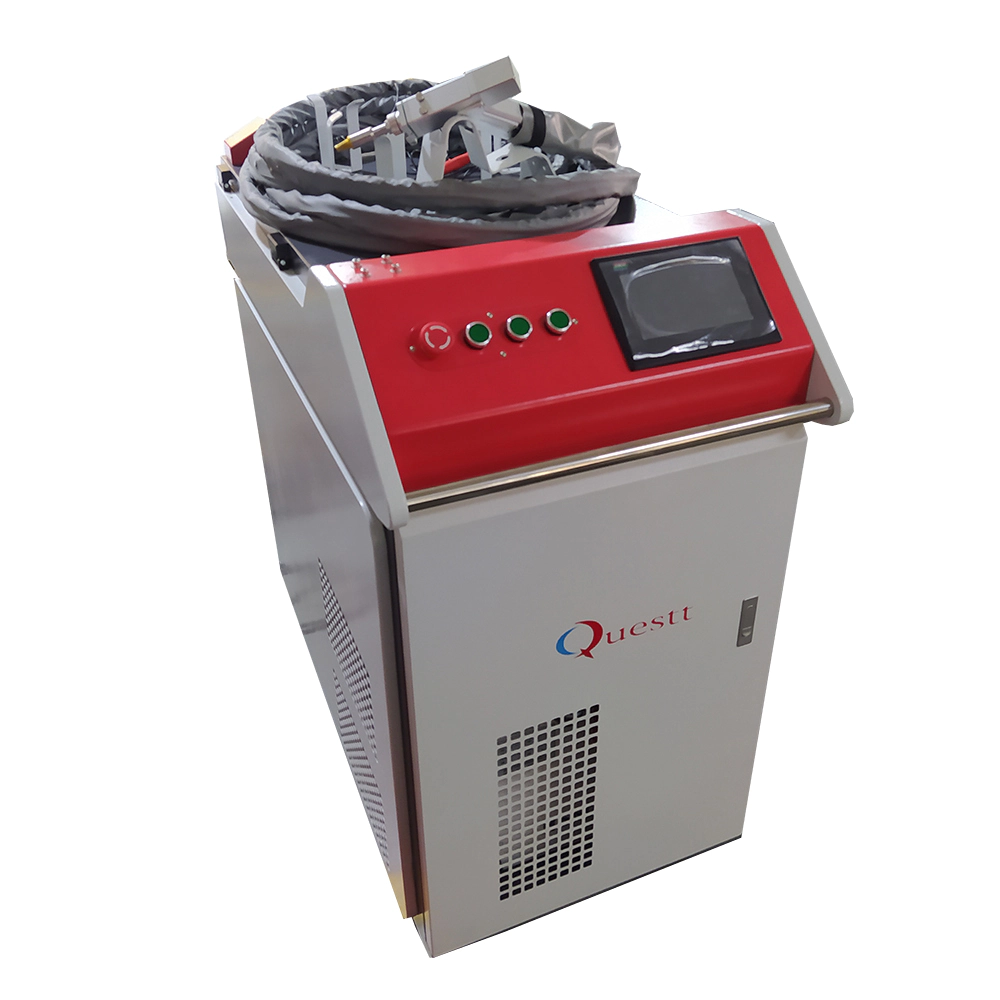
Custom message
Related Products