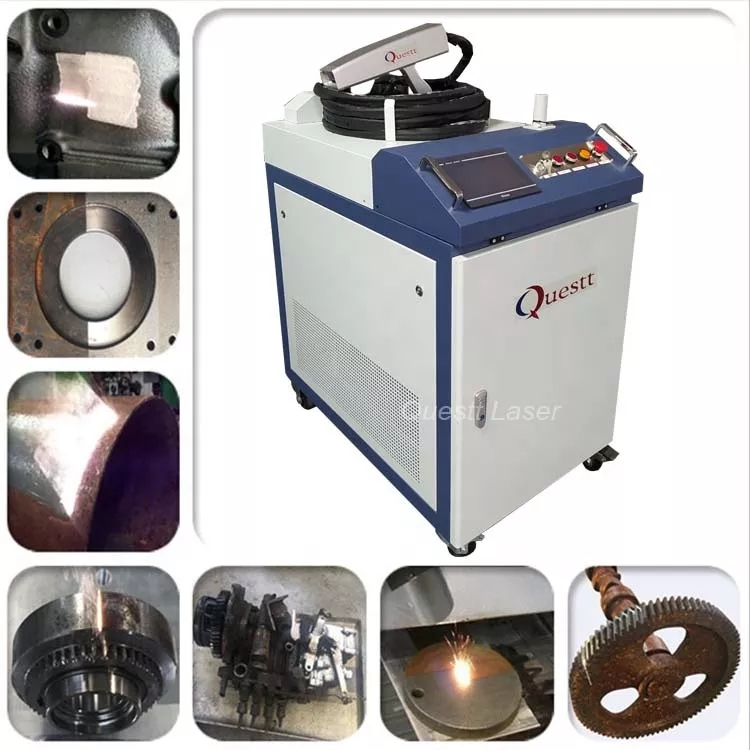
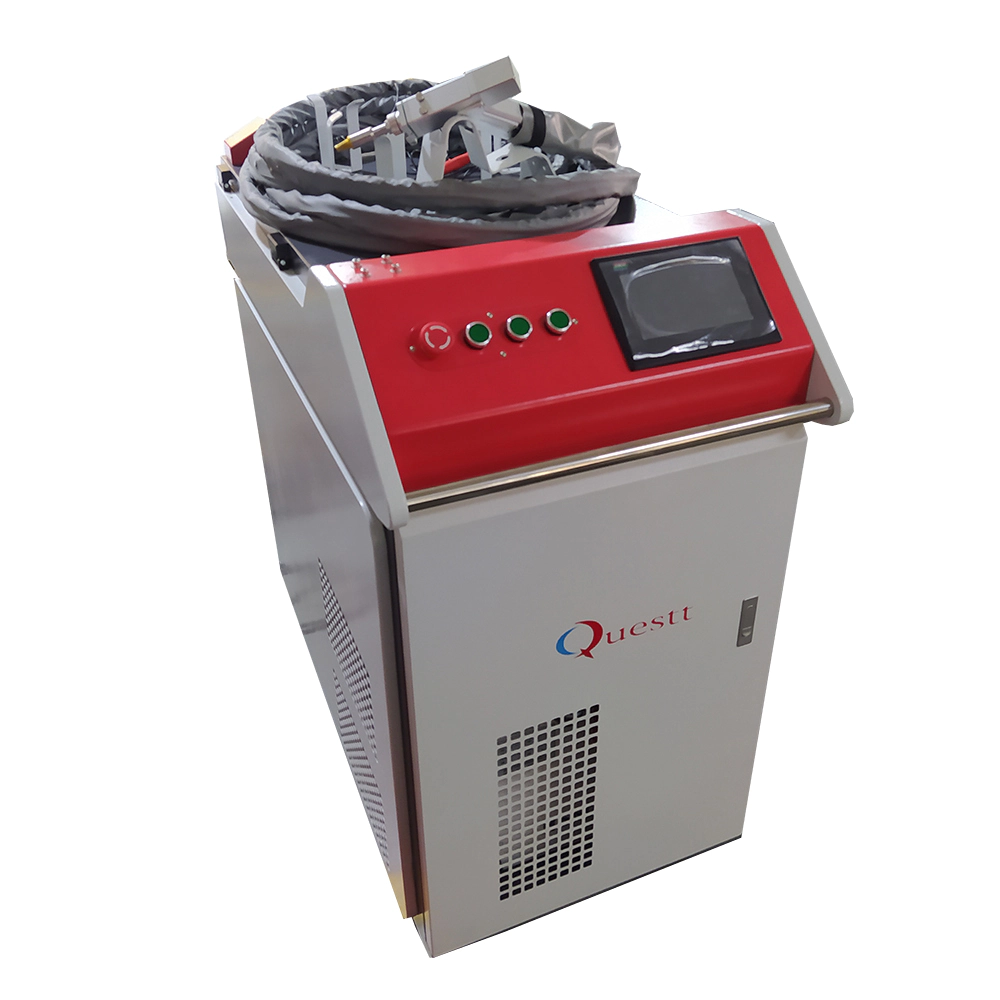
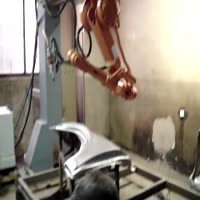
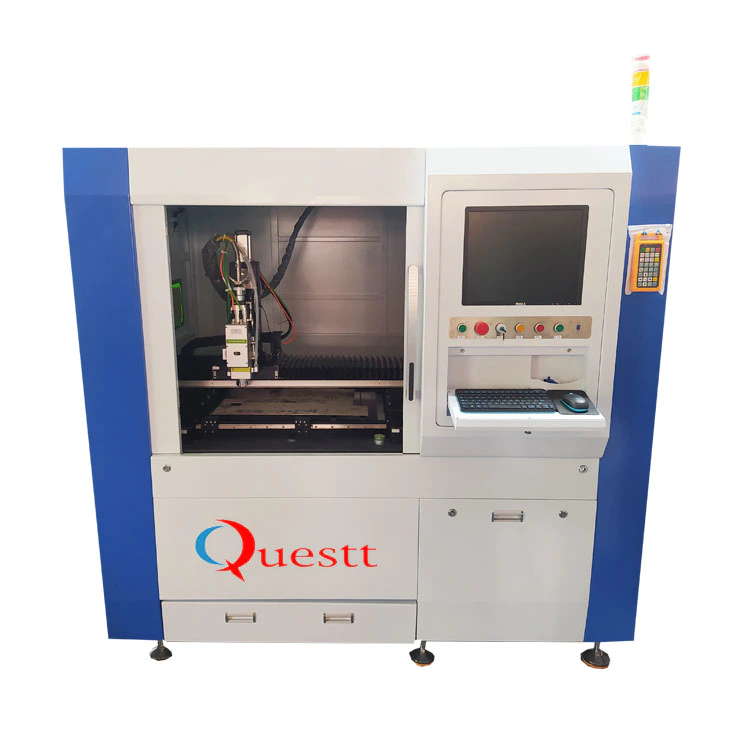
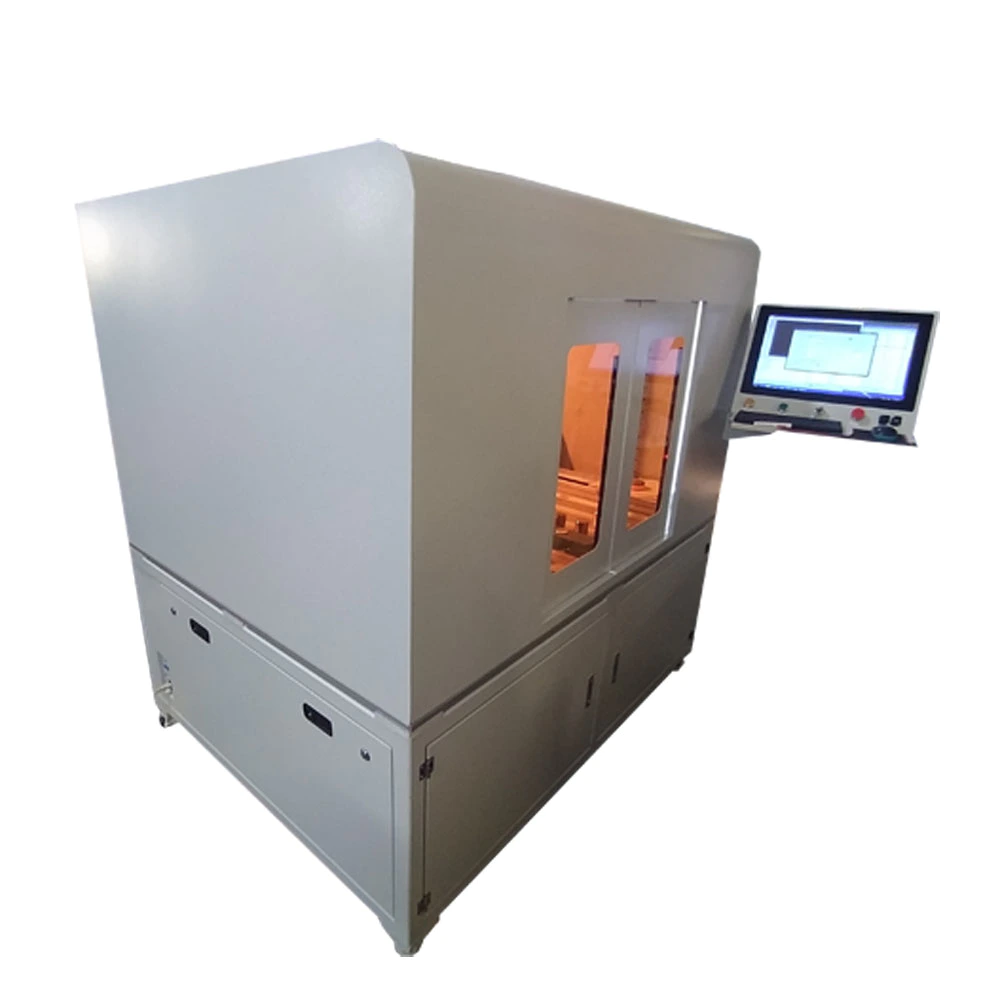
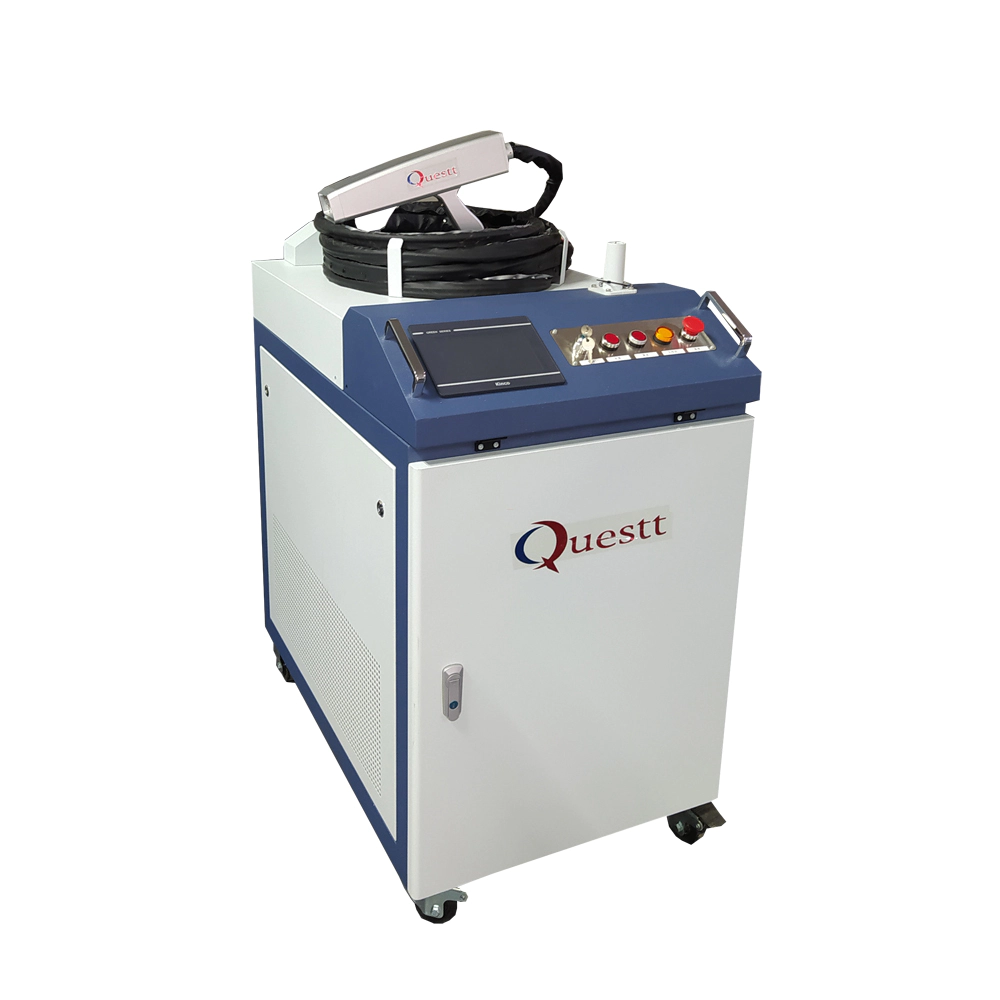
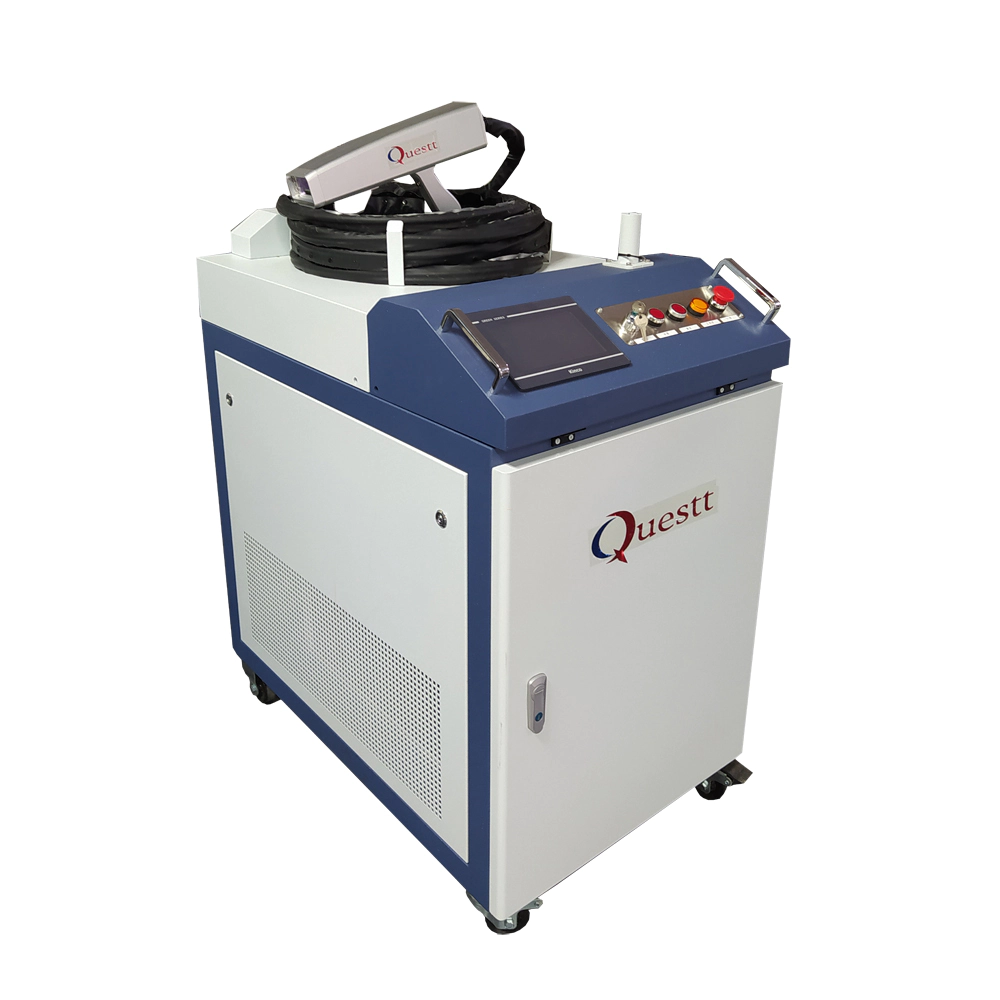
300w air cooling laser cleaning machine
Plastic Smoothie - DIY Plastic Recycling
by:QUESTT
2020-04-28
Plastic smoothies are a collaborative project with a simple goal: to bring plastic waste back to life.
Plastic smoothie was originally a personal experiment related to digital manufacturing and 3D printing, and in my free time it was with the help of runolab La Rueca asociion, it has been partially developed with the help of some very creative supporters and contributors.
The starting point is the need to find a simple and affordable way to recycle plastic in a manufacturer\'s environment.
Precious Plastic items are a good example, but their machines and recycling processes can be very complex and expensive without equipment.
Project philosophy: we divide the project into different stages to ensure that we stick to it and have clear goals: This instruction is in line with the experience of the last 3 months we have worked in the first phase
As we mentioned, due to the lower price and how easy it is to find the appliance, we try to use the appliance in most of the process.
Unfortunately, in the first phase, we also use laser cutting machines to make different items, if there is no space for FabLab or manufacturer in your city, the price and accessibility of that machine may make it difficult for you to copy the project.
Here is a list of materials used in the first phase.
Gadgets such as knives, plastic bags and cartons are not included. Price.
Including electrical appliances, consumables and plastics, we have been working hard to keep our budget below € 150.
However, the budget for laser cutting machines has increased by at least 2000 euros.
Therefore, we will make a special effort in the second phase to meet our budget constraints, focusing on experiments and learning in the first phase.
Many people suggest that we use a meat grinder instead of a blender to crush the plastic because of which motor it uses.
We decided to use a blender because it would allow us to crush larger plastic parts, but depending on where you collect plastic waste from, getting a meat grinder or a machine with a high torque motor and some blades can be a better option.
Before we start, we want to know some tips: There are many ways to crush plastic, and in some cases it is not even necessary.
We used a mixer with a 1250 watt motor and we were careful not to chop up parts that were too large or too dense (
In the case of 3D printing objects, the percentage of filling is very high).
We only use PLA plastic obtained from 3D printed objects or old filaments.
We separate the filaments according to color (
Gray, blue, warm . . . . . . )
But the properties of the material are the same.
In this project, we pay special attention to the aesthetic value of the items made, and the crushing process plays a key role in deciding which colors and textures you want to create.
As you can see in the next steps, we made some plastic panels with three different visual textures.
We used a second.
A mini oven that melts the plastic.
It has only one oven grid, but it will be much easier if it has an oven plate.
We use baking paper for most of our tests.
We cut a sheet of baking paper and we bent both sides to avoid overflow.
We tried the silicone mat but we did not bend the sides and it was difficult to use.
We did different tests and the most consistent result we got was: After making more than 30 plastic plates, we improved the process and tried to simplify the process.
In order to do this, we suggest the following: there are many ways to press the plastic panel, we do DIY as much as possible.
However, one thing to consider: you need to do this as soon as possible.
Our urgent procedures are as follows, and you may find better ways depending on your device and available space.
Although the pressing process looks easy, this is the most challenging part.
There are things that we have learned in hard ways and we do not want any of you to repeat our mistakes: we used the Epilog Laser Mini 18 40 W to cut 3mm plastic plates that we had previously made.
We use the same settings as 3mm acrylic, but when engraving we have to increase the laser power because the carved parts are not very visible due to the visual pattern.
In addition, the laser melts the edges a little, but we find it difficult to remove the edges when laser cutting.
You can post it easily
Machined PLA plastic sanding edges or painting.
Of course, without any design we can do with this technology, the project would be pointless.
We did a very small one for this reason (
But full of love)
A collection of objects that can be made.
I would like to thank all my Patreon supporters, TecnoLab La Rueca asoci, and all those who have contributed in many different ways to make this project possible.
If you are reading this, it means that the first phase has been completed and now we will go to the second phase where we will be high
Temperature mold!
Custom message
Related Products