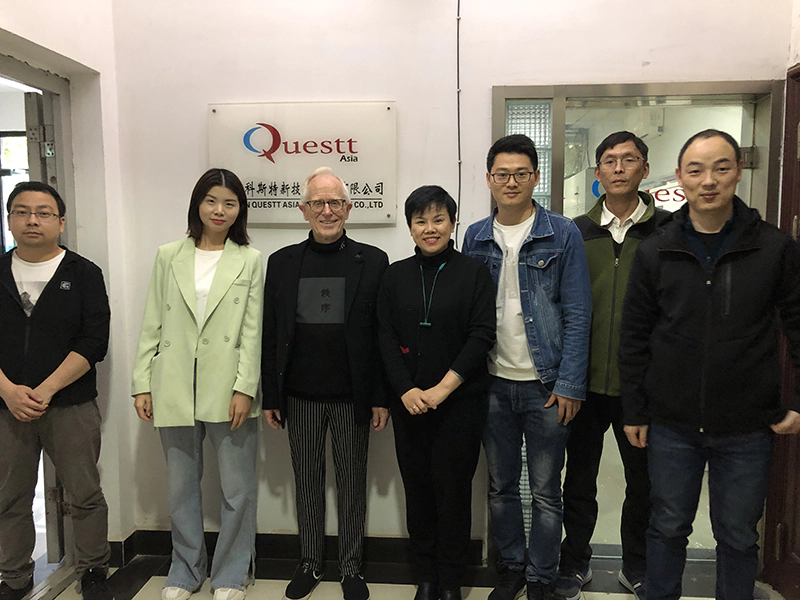
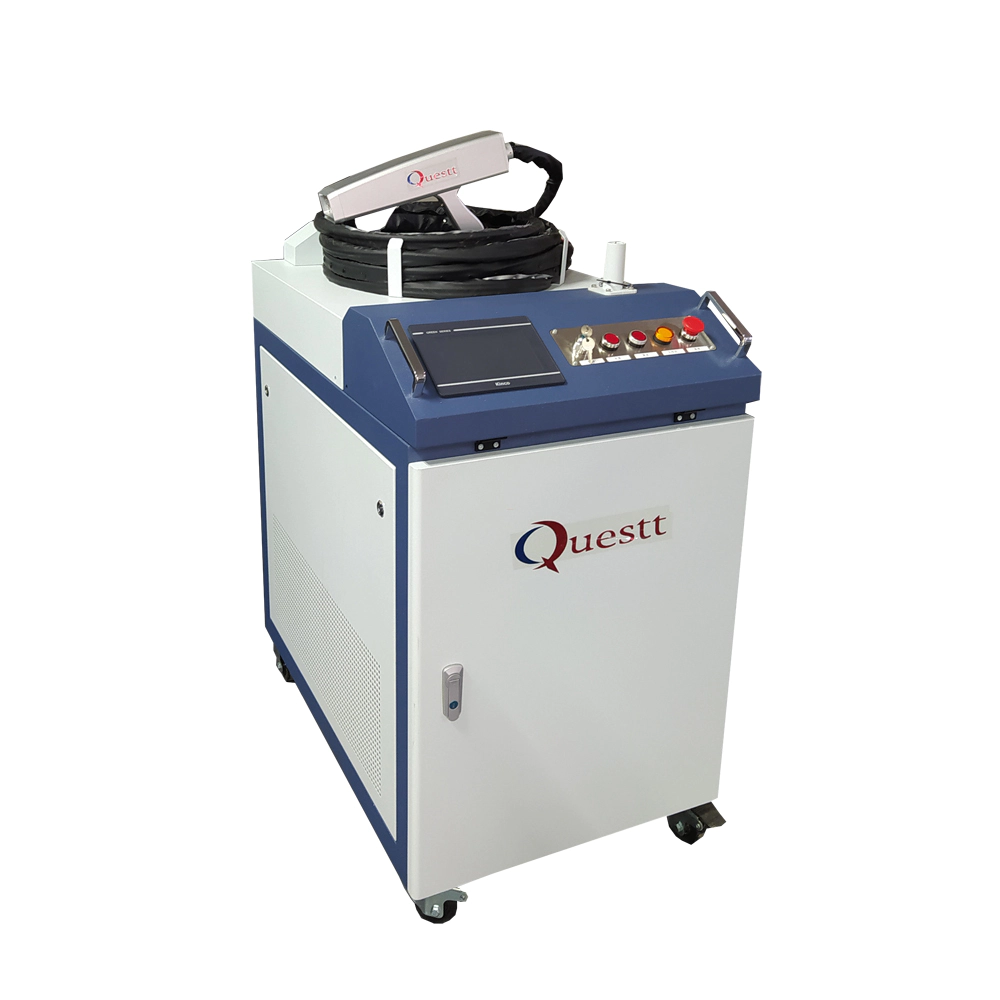
Questt Laser shipped 4 sets laser welding machines to the Netherlands
DIY 5500mW Laser Engraver / Cutter
by:QUESTT
2020-06-21
[Play Video ]
If you ask DIY enthusiasts like me what is their wish
In the list, they will say that the possibility of a 3D printer or a laser cutter/sculptor is very high.
The laser engraving/cutting machine is very cool, just like a 3D printer.
I went through a magazine two years ago and found an interesting article about laser engraving/cutting.
Since then, I have wanted such a machine very much.
I searched a few times on eBay and Amazon and wanted to know the price but still expensive.
I have never really proved that the cost is reasonable.
Now the price has dropped to the point where DIY enthusiasts can now afford it.
After a long wait GearBest gave me this 5500 mw laser engraver for me to review.
Note: This Instructure is not sponsored and Gearbest sent me this laser engraver and they didn\'t pay me.
It\'s not about promoting the product, it\'s about helping others and sharing my experience with laser engraving.
The carving home has the following features: 1.
Wood, plastic, bamboo, rubber, leather and other items can be carved.
Paper-cutting, foam, thin skin 3.
Engraving area: 15 cm x 20cm4.
Arduino Nano 5 runs.
Compatible with open source software 6.
Ability to work: 5500mwI is very excited about the assembly kit and curious to see the results.
Although the product arrived a few months ago, I was unable to assemble it due to my busy schedule.
In this Instructure I would like to share my experience in assembling laser engraving machines, using laser engraving machines/cutting machines and what you can do with it.
I think it would be very useful for other DIY enthusiasts to upgrade their work.
The kit includes the following items: 1.
Aluminum frame/bar (
2 small, 3 big)2.
Aluminum corner accessories (4 Nos )3. Acrylic panels(6 Nos)4. Stepping Motor (3 Nos )5.
Stepping Motor cable (3 Nos )6.
Stepping Motor controller board (L1 )7.
: 6 small acrylic frames, screws, timing belts, pulleys, washers and gaskets.
Safety goggles 9. 5.
5 w laser module 10. USB cable 11.
The 12 V power adapter is useful in many ways for laser cutting machines to quickly move from idea to reality.
\"Laser\" means \"to enlarge the light by the excitation Emission of Radiation \".
Working Principle: laser engraving or tool high by focusing
The laser is irradiated to the surface of the material.
The beam is focused to a small point-
It can burn, melt, and even evaporate the material it encounters.
There are four main parts of laser engraving machine: 1.
Laser module for emitting high-intensity beams 2.
Stepping Motor: Drive the laser module to the required pint. 3.
Controller: control the direction, intensity and speed of motion of the beam 4.
Surface: When the laser beam falls/the material to be carved or cut, the design pattern is first loaded into the controller software.
The software creates a vector file and sends it to the controller that guides the laser beam through a specific path through a stepping motor to the surface of the material.
According to the intensity of the laser and the speed of movement, the quality of the engraving will change.
If the beam is very powerful, then it can also cut thick materials such as hard wood and acrylic.
First remove the protective layer of the paper from the acrylic frame.
Start with the build of the bottom rectangular platform.
It requires 4 aluminum rails and 4 corner fittings.
As I explained the details of the assembly process in the video, I\'m not interested in writing a long process :)
I hope you can understand the situation. Follow the [Video ]
Assemble laser engraving machine.
Wiring is simple.
You must connect the cable to the corresponding connector.
There are two joints for the motor cable, one is 6 pins and the other is 4 pins.
Connect the 6-pin joint to the motor.
Now, connect all the cables to the controller/drive board as per the picture above.
Plug in the USB cable and the 12 v power adapter first.
There are a lot of software solutions on the Internet, but Benbox will provide the most basic solution for most users, and it is very simple to use.
So I will guide how to install the Benbox software and use it. 1.
Download the lunch box software.
You can download it from the Benbox website, or you can download the zip file that comes with it below. 2.
Install Driver 3.
Confirm successful driver installation: Go to Device Manager-
> Port, you will find \"USB-SERIAL CH340 (COMXX ).
Write down the COM port number. 4.
Open the lunch box and change the language.
Select \"NANO (328p)/ LX-Nano6.
Update firmware: the firmware file is in the lunch box-> ROM folder.
After a successful upgrade, a green scale will appear. 7.
Set COM port: enter COM port number, which is mentioned earlier.
There are many parameters in the software.
It doesn\'t have such a rule that you have to choose different values based on the actual situation.
If you understand the parameters, you can easily use them to get the best results.
The parameters are: strength of page 1: 0-
255 laser power is set by controlling the voltage (PWM )
Send to the laser head. (
No impact on most systems)
Speed: set the speed at which the laser head moves on the working surface (
Adjust the main factors of combustion).
Time: time is only used in discrete mode and affects the laser time per pixel (
Higher time = more power density)
Step: Step is the distance that moves when using the Axis control button (
Do not change the output).
Carving method: kebei)one-way (left to right), ii )Z for bi-directional (left-right-left etc. )
Or the outline to cut out a shape.
Discrete: stop the laser on each pixel according to the time value, slow but more accurate.
Continuous: scan the head and pulse the laser-
It\'s faster but not accurate.
Page 2: step motor pulse control pin output from Arduino.
DIR: step motor direction control pin output from Arduino.
Min and max: limit control pin PPM (Pulse-
Position Modulation).
PPM: change the size of the drawing scale.
For good results, PPM for both X and Y should be 320.
Laser: control PIN number of laser module.
Laser on/off should be 12 or 11 if PWM mode is used (
There is a jumper underneath the Arduino Nano to change this)
Servo: control pin number.
Feed speed: When the laser is turned off, the feed speed is the maximum speed.
Note: In the second page, all you need to do is change PPM and Feed Rate.
There is no need to change other parameters if you are not an expert.
Credit: Please wear safety goggles first before entering the next step.
You should remember that this tool is useful but not a toy at all.
The laser will cause permanent damage to your vision.
In the process of engraving or cutting, the burning surface produces harmful and toxic smoke.
So it is important to know that if you are carving anything, it is recommended to discharge the smoke out.
You should keep the window in the room open all the time.
You can also use exhaust fans near the workplace.
If you are cutting PVC or any type of vinyl material, it releases chlorine gas.
This will be mixed with moisture in the air to produce hydrochloric acid, which is harmful to people and machines.
We should be careful of it.
Note: it is recommended to place fire extinguishers near your work area.
The laser engraving machine does not have a platform/bed where the engraving material is placed.
So you have to make the right arrangements for it.
In my first attempt, I put the machine on the table to start carving.
After a while, I noticed that my desk was burning.
So be careful before carving or cutting.
Now I\'m using a thick card board (
It is slightly larger in size than the sculptor\'s base)
For basic platforms.
You can also choose other materials according to your situation.
The material to be carved or cut is placed on the base platform.
Then adjust the position of the laser head to align it with the material by pressing left
Right or forward-
Back button in software.
In order to get more accurate results, you have to focus the laser beam first.
I missed doing this on my first attempt and the result was very bad.
First turn on the laser switch on the drive board.
Then slowly rotate the focusing ring and focus the laser beam that will fall on the carved surface.
Go to the menu in the software and press connect.
Load the image to be engraved/cut.
There are a lot of cool designs in the software files, and you can use one of them.
Then set different parameters and click the play button.
Your carving is finally finished! ! !
It can not only carve, but also cut materials such as paper, foam and thin skin.
So now you can use this product with your creativity to meet your needs.
If your core is innovative and has some amazing ideas for use, this laser engraving machine may just be a tool to bring you into a whole new area of the DIY platform.
Now I am new to laser engraving and learn new technologies from different forums and articles.
I will update here if I find new information.
Thank you for reading this article.
Hope you like it.
Subscribe to more fun DIY projects.
Custom message
Related Products