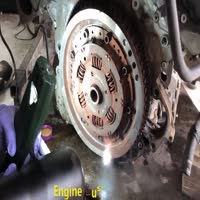
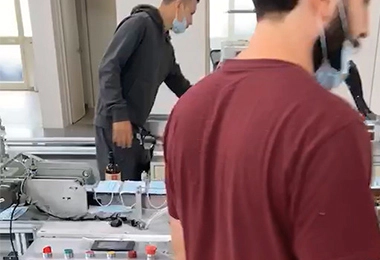
Algeria customer visited our factory on June 28
building a 3d printer under $200
by:QUESTT
2020-07-29
3D printing technology is rapidly changing the world of rapid prototyping and engineering design, with every amateur, budding engineer dreaming of getting into the technology and using it to make their designs
I\'m like you always wanted to start 3D printing and make my imagination a reality but the best 3D printer is really as expensive as MakerBot Replicator and Ultimaker costs more than $1000
This is not possible for beginners or amateurs to buy.
But now there are very cheap kits to start using.
I have just started my 3D printing tour recently and I will tell you that there is a good option to start with everything but you missed a lot of things.
In this instructures, I will show how to get a 3d printer, build it, troubleshoot printing errors and enjoy it.
I really like making and learning but mainly sharing.
If you can vote for me, this may help me to get CNC so I can use t for the project before I start making a 3D printer. You should know the type of 3D printer how they work.
I will try to give you a short idea here about each type.
FDM technology builds objects layer by layer from the bottom up by heating and squeezing thermoplastic wires.
First, the dedicated software \"cuts\" the CAD model into layers and calculates how the printer extruder builds each layer.
In addition to the thermoplastic material, the printer can also squeeze out the supporting material.
The printer then heats the thermoplastic until it melts and squeezes it out of the entire nozzle to the end seat along the calculated path, also known as the build platform or table.
The computer of the 3d printer converts the dimensions of the object into X, Y, and Z coordinates, and controls the nozzle and base to follow the calculation path during printing.
To support the upper layer, the printer can be placed under special materials that can be dissolved after the printing is completed.
The printing process includes a 3D printing machine that is uniquely designed, called a stereo printing device (SLA)
Convert liquid plastic into solid 3D objects.
The SLA 3D printer uses excessive amounts of liquid plastics that sometimes harden and form solid objects.
After the plastic hardened, the printer\'s platform dropped a small part in the tank, and the laser formed the next layer until the printing was completed.
After printing all the layers, you need to rinse the object with a solvent and then put it in the UV oven to finish the processing.
Selective Laser Sintering (SLS)
It is a technology that uses laser as a power supply to form three-dimensional objects.
SLS are more spread between manufacturers than 3D amateurs at home because the technology needs to use high
This makes the printer very expensive.
This guy is an expert in making printers like hobby in the process of LOM, adhesive layer-
Coated paper, plastic or metal laminate is melted together with heat and pressure and then cut into shape with a computer-controlled laser or knife. Post-
The processing of 3D printed parts includes steps such as machining and drilling.
The OM printer uses continuous paper coated with adhesive, which is laid on the substrate with a heating roller.
The heating roller through the material sheet on the substrate melts its adhesive.
The laser or knife then tracks the desired size of the part.
In addition, the laser passes through the hatch of any excess material in order to help with easy removal after the printing is complete.
All of these terms may confuse you, but I will tell you that the cheapest one to start with is FDM.
Limited company is very popular for representative reasonrap project.
It\'s easy to build one, but starting with a beginner, it\'s hard to get all the parts and match them differently.
There, the kit starts to work.
Now, in a kit, you can get the basics of making a 3d printer.
Listed belowGeekteek i3 $300 A8 $180 I3 upgrade $200 guess the reason for choosing Anet is obvious and the price of bcz is low but honestly if you have a budget it has a double extruder, the nozzle diameter is also smaller.
But my building is bigger.
The 220x240mm 3 frame comes with many acrylic parts with a width of 8mm, as shown in the figure, assembling the frame first.
The acrylic frame is connected to the M8 screw and is very easy to assemble.
Nuts are a bit hard to put into acrylic, I put the nuts into the slot with tweezers and my fingers are a bit hard to hold the nuts: the PThe manufacturer has documented all the steps well, but there is something small missing, which is easy to understand.
I will mention some important checklist so your printer can work perfectly as I have a lot of problems making the first 3D printer and I would like to share with you all.
This works for all the printer kits and builds you will be doing.
The most important part of CNC is its axis, X, Y and Z.
In a Descartes type printer like me, there will be two motors in the z axis.
The z-axis motor is coupled to the screw with the help of the coupler. A leadscrew (or lead screw)
Also known as a power screw or a pan screw, it is a screw used as a connecting rod in the machine to convert the rotational motion into a straight line motion.
Something that connects two things, especially mechanical parts or systems.
The y-axis works on the belt system.
The stepping motor is connected to the timing belt that pulls the slider (bed )
Before that, we will discuss it in the next section, and we will assemble pulleys, motor brackets, and screw bars.
The rebar holds the bracket and the pulley together, and by changing the thread length we can increase the size of the building volume.
The screw thread is 8mm, so the M8 nut and M8 washer are required to tighten the rod in place.
The next task is to install the linear sliding shaft, which is also 8mm, and the linear shaft does not work separately, and they need the linear bearing to work.
There are four linear bearings (
Sorry, pic shows two because I was wrong at the time due to the old documentation: P)
The four linear bearings are connected to the bed and slide on the shaft to provide the y-axis movement.
The end of the shaft has an end stop device to provide the main position.
The timing belt is an active conveyor belt that can track relative movement.
These belts have the teeth installed in the matching belt pulley.
When stretched correctly, they do not slide, run at a constant speed, and are often used to pass direct motion for indexing or timing purposes. The next step is to connect the stepping motor to the bracket with 4 m³ screws, if your timing pulley is missing, then it needs to be tightened quickly before proceeding, now, use the timing belt to mount the belt on the pulley and fix it on the metal H bed stand.
Be careful to provide accurate tension on the belt, otherwise the stepping motor will skip the steps and make it worse for you to print. Maintain a high tension state for the best results.
Now, when the y-axis is finished working on the x-axis, we first install the x-axis lining slider and the linear bearing and bracket, the best way to align is to rotate the lead screw, so that the top or bottom can make x-
The axis is perfectly aligned.
Once the alignment is correct, fix the motor in the position where the x-axis is installed with the m3 screw.
Then, before completing all the shafts, the time to install the extruder, place the timing belt and check if the tension is high, we should probably start with what the extruder is.
In fancy terms, it is a positive displacement machine designed to apply shear forces to the raw materials in order to process them into finished products (whew! ).
To put it more simply, it is a machine designed to pass the material through the barrel with screws.
However, the idea of \"squeezing\" is to take the material out of the container.
It\'s like squeezing toothpaste out of the tube.
Now that we have these, let\'s see what this thing can do.
The temperature of the extruder is an important reading, if the thermal resistor is not in good condition, please always cross check if your thermal resistor is in good condition. Fix it with a hot top 3D printer using kaplon tape, it has an LCD that shows all in during printing, some LCD modules with rotary encoder, while some modules have buttons like my rotary encoder, both systems have some pros and cons, the LCD is mounted on top with some m3 nuts and bolts
The LCD module is similar to the Arduino LCD Sheild, but it is connected to the board with the ISP head.
The motherboard is the Anet motherboard, which runs on the atspa28, has five motor controllers and connects the hot bed and hot bed through screw terminals.
The terminal can be upgraded to a handle with a higher current, which means a higher temperature on the heating bed, which means you have the possibility to work at a high current
Temperature polymer.
The entire 3D printer is powered by a 250 watt 12 v PSU and the connection is simple and you need to connect the power cord and the motherboard.
If left free, the cable will appear in a moving way and then torn off, so it needs to be properly closed and organized.
The manufacturer attaches great importance to this and provides you with cable housing and zipper so that you can organize well
3d drawing is required to be called Slicer (most often in . STL format)
And convert this model to a separate layer.
It then generates the machine code that the printer will use to print.
The 3D printer can go through a small on-
Board control screen or pass (USB)
Interface with a computer or both.
The user interface/control software allows the user to send the machine code file from the computer to the 3D printer and change some parameters at runtime (e. g.
Speed, flow and temperature)
, And manually move the print head around the x/y/z axis. There is a lot of software, Reptier host and Cura are very popular, and although I have worked with reptier host, I don\'t like it because the results I get from it are not that good for me.
I went to Cura and the result was better than before, you can use a lot of material with this 3d printer. I tell you that if you make a bad chance of printing a 3d printer for the first time, there are a lot of printing failures, you may face some problems because of software or hardware.
I would encourage you to take some time to debug the issue.
Most hardware problems may be that the belt tension may be small, and the software can be layer height, layer thickness, extruder temperature.
I gave a link below, and even though I got a lot of help from my friends, I used to debug my settings.
For printers under $200, you can still print out decent quality, which takes some time to understand, but it\'s really worth the time and money and what you can do with it.
The next thing I plan to do is build a shell to keep it away from dust and keep the temperature constant as it helps to print well.
The second thing is that I want to try to print some other material like PETG (
ABS is good but the fume is poisonous)
Custom message
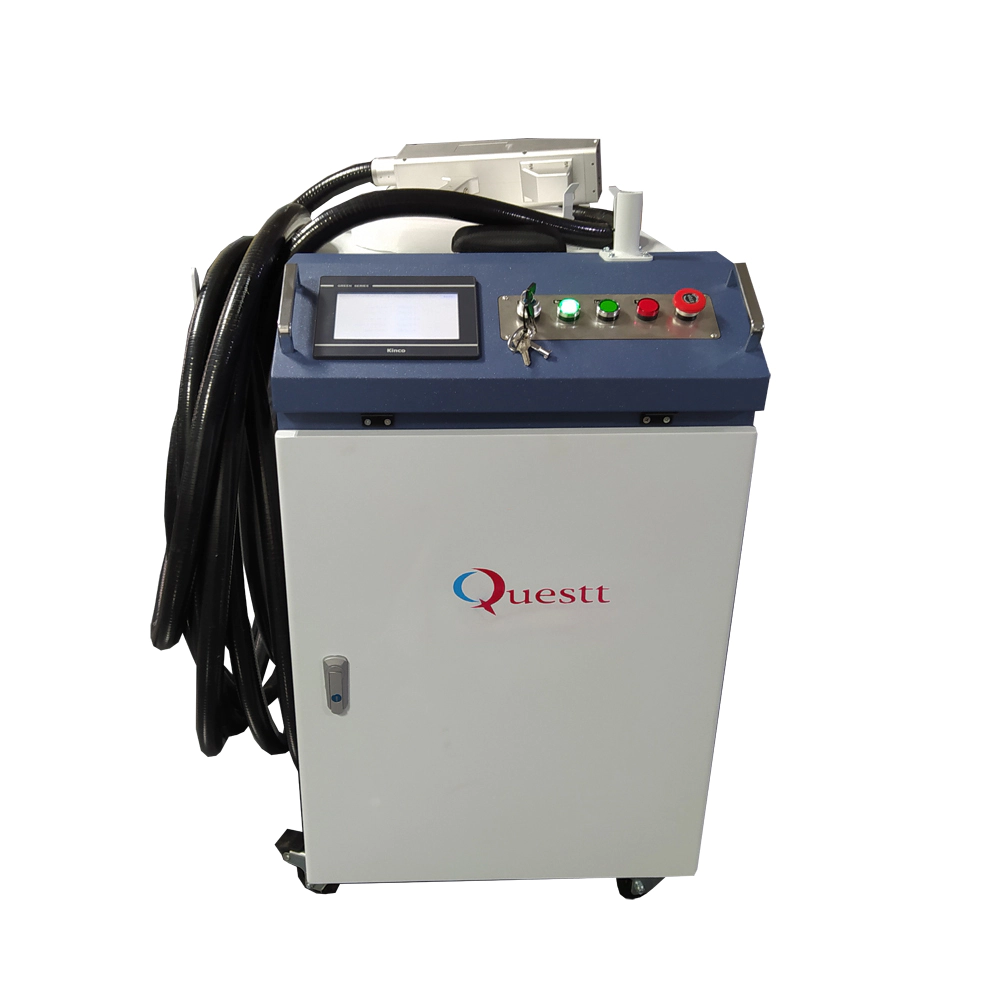
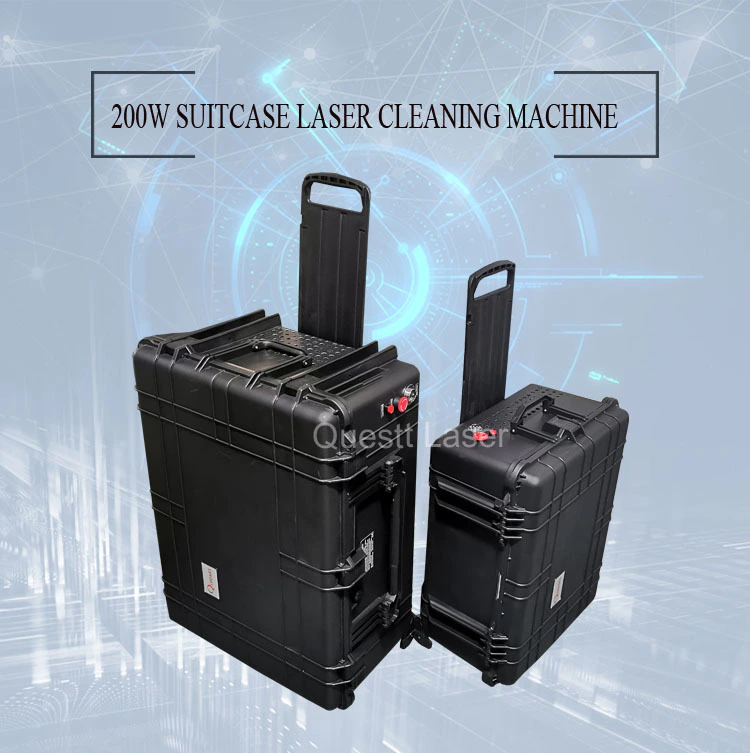
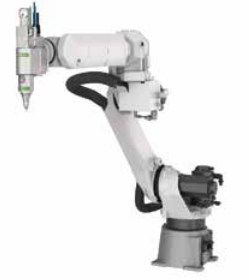
Related Products