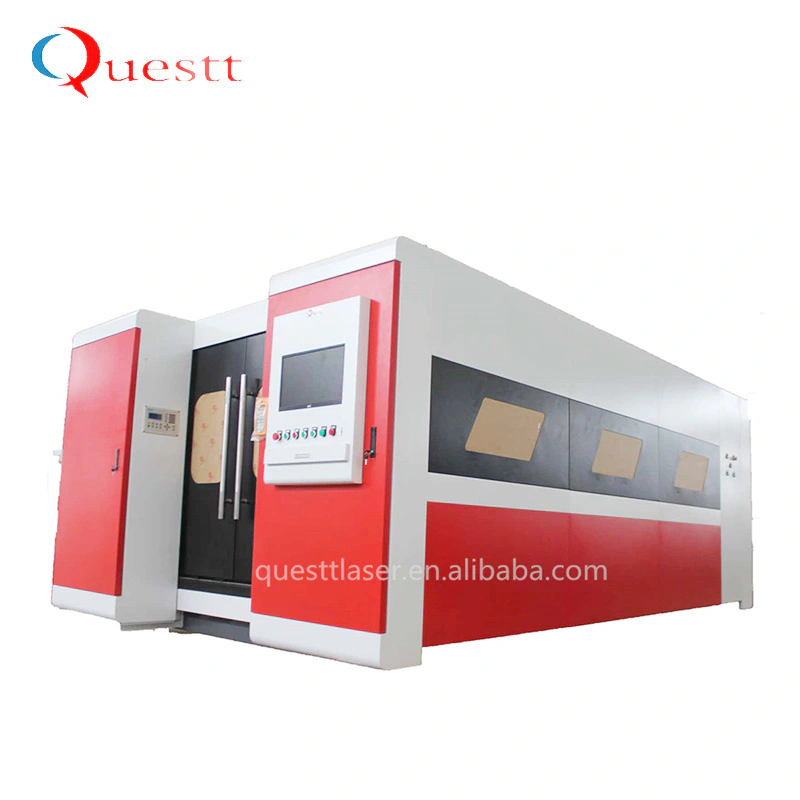
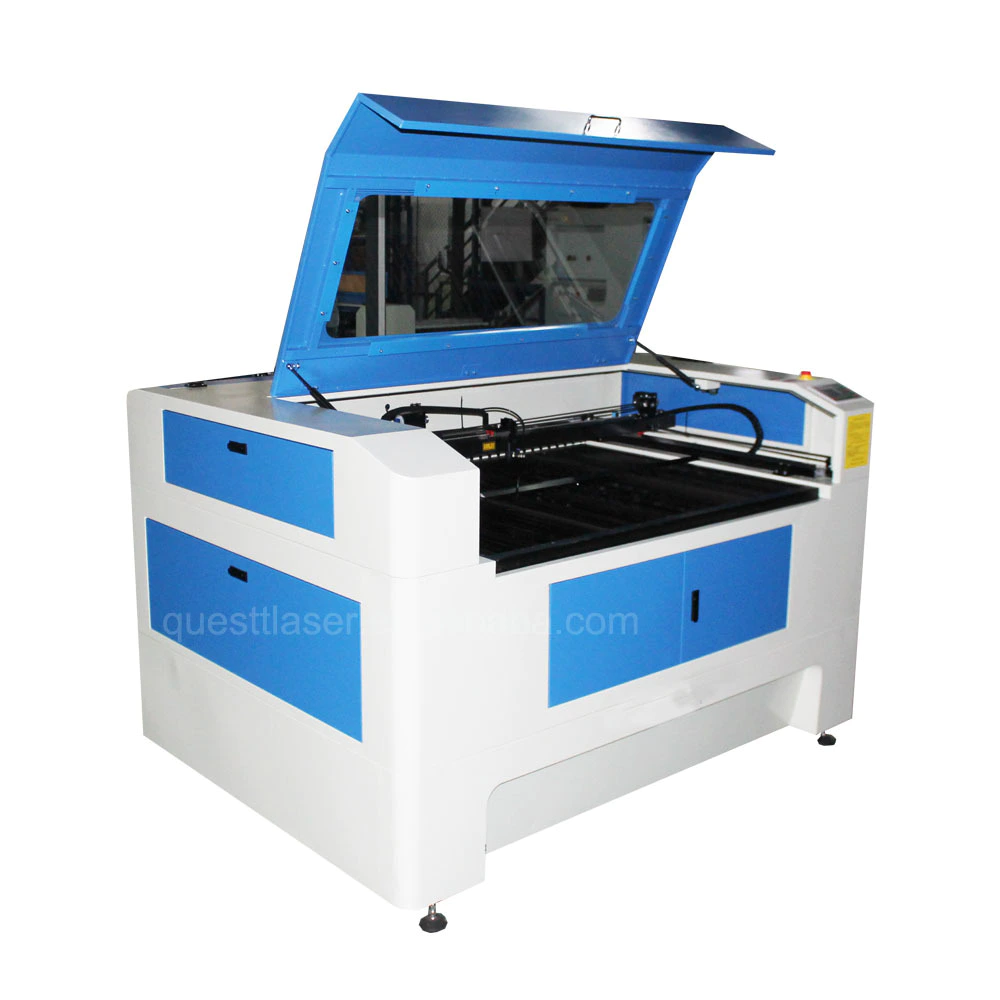
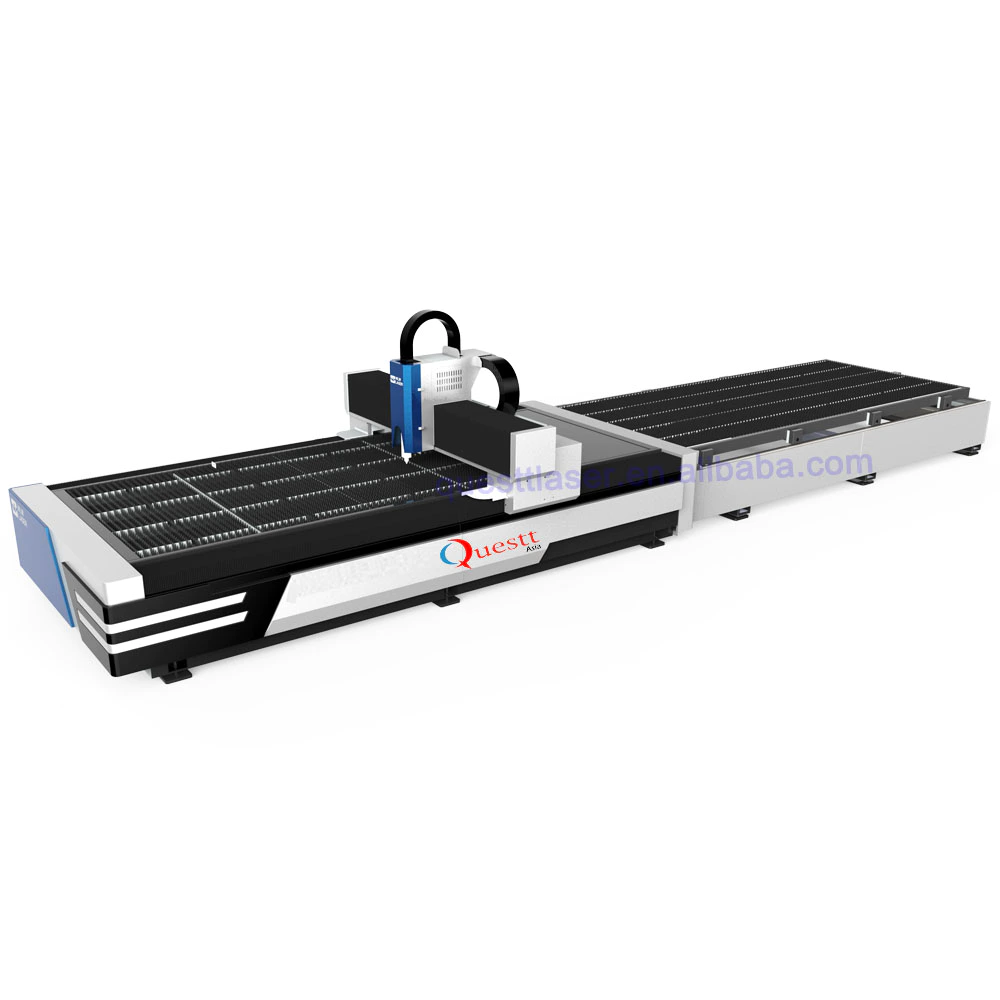
10 Tips and Tricks for Laser Engraving and Cutting
by:QUESTT2020-04-23
Hello, this is Geordie, currently working in ADX Portland, operating laser cutting machine and carving knife. My job is to accept the client\'s projects, set them up and run them on the laser. So I learned some tips on how to set up the work to get the best results, and in this manual I will pass them on to you. The laser I use is the Epilog spiral and the program we use to run it is the Corel Draw. I will try to write in general terms so you can use any lasers and programs you want. Note: for several of these tips, it is important to understand the difference between a vector file and a bitmap file. Vector files are mathematical formulas that define lines, circles, etc. These are created by programs like Adobe Illustrator, Inkscape, AutoCAD, and Corel. A bitmap file is a collection of individual pixels. This includes digital photos, Adobe Photoshop files, JPGs, etc. Laser in conclusion ( I assume there\'s something else. Only cut with vector file. You can engrave using a vector or bitmap file. For a few of my tips, you need your files to be vector files for the trick work. Before we start cutting and engraving, let\'s start with some good ideas to prepare for cutting or engraving. Shading: If you are going to carve on something, please note that the carved smoke will stain the edges of the carved surface. If you don\'t want to cover the surface with masking tape to protect it. Masking tape does not greatly reduce the power of the laser ( Lift the power up a bit if you feel you need it) Masking tape will protect the material around the engraving from smoke. After running the engraving, just peel off the masking tape. If I engrave on leather, I will use this often. Preset: there should be some suggested settings for your laser to cut or carve different materials and different thickness. You should also be able to load these settings into your computer or laser and save them as presets. Be sure to name them something meaningful so that the next time you need to carve or cut 1/8 thick acrylic on the leather, you can easily find them, you can find the presets for that material. Test cutting: even if I have a preset for cutting material, I usually try to do test cutting in it before running the full work. There\'s nothing worse than taking the material out of the laser and finding that it doesn\'t cut all the way. I create a small circle or square ( About 1/4 or 1/2 wide) Cut off the corners or some scrap. Then I can see if I need to increase or decrease the power before running the final cut. A few tips I\'m going to discuss require that only a file or part of the design be printed at a time. The easiest way is to put different parts of your design on different layers in the file. Most graphics programs allow you to create different layers and then turn them off and on. While you can put everything on one layer, there are some benefits to using layers. 1. Control the order of cutting. Your laser should have some options to determine the order of cut lines, but one way you can control is to place different cuts on separate layers, to open the print of each layer proceed in the order you want2. There are multiple parts and designs in one file. Don\'t have a separate file for each design, just put them all in one file and put them in a separate layer. Then print only one layer at a time. Help organize things. 3. Create a guide. You may need to create some guidelines for laying out your design, or you may need a target to place an object. If you don\'t want to print these things, put them on your own layer and turn off the print for that layer. So you design a logo or image that you want to burn on a piece of wood. Wood is a good material for engraving, but you need to know the difference between engraving on solid wood and composite materials such as plywood or medium fiber board. Unlike artificial materials, natural wood is not uniform. The particles in the wood represent different types of growth in the Wood ( Winter and Summer) Each of them burns differently. Usually, the darker particles are harder, and the lighter parts between them are softer. As you can see from the sample photo, you end up seeing the zebra pattern in the engraving. If it is important for you to have a uniform look for the engraving, you may get a better result from a more uniform plywood on the top floor. One more thing to note is that there is a thin wood skin on the material. Carving usually passes through thin veneers exposed to water. Make sure things under the veneer look good and you burn all the time on the veneer so you don\'t have a mixture of the veneer and belowsurface. Often, when cutting multiple parts at the same time, the temptation is that they overlap with each other, so similar lines overlap. This is a good idea, but there is a good way and a bad way. For example, you have a bunch of squares to cut off. If you draw two squares (4 sides each) Then, but they fight each other and it looks like there is only one line between them. The problem with this is that although it looks like there is only one line on the overlapping side, the computer still sees 2 lines. The end result is that one line is cut off at the top of the other. This can cause the edges to burn down instead of a clean cut. Waste time on unnecessary cuts. The solution to this problem is to eliminate a double line. Draw a square with 3 sides, but it is opposite to a square with 4 sides. The main difference between Raster engraving and vector cutting, for engraving, the laser head goes through the print area from left to right, then moves the hair down and repeats until the image is finished. When vector cutting, the laser is just tracking the cut lines. Therefore, grating engraving takes longer than vector cutting. So what if you have works of art like Celtic knots, or designs like maps, mostly lines? You can run it as Raster engraving. The advantage of doing this is that you can set your line thickness to what you want, and the different line thicknesses are different. The downside is that carving takes a long time. If your design or artwork is a vector file ( This does not work with bitmap images) There is a faster way to create your lines. Set the file to vector cut, but turn off the power and increase the speed. For example, to cut 1/8 plywood, I need 100% laser power and 20% speed, but I will set the power to 30% and the speed to 95% in order to score. Therefore, the laser is not cutting the material, but burning a thin line in the material. Its advantage is that it is much faster than engraving. The downside is that the line will be thin and you can\'t change the thickness of it. For ways to get a thicker vector line, see my next tip. In my last tip, I introduced how to grade a line as material using vector settings to make a line artwork or design. But the disadvantage of this technique is that the line is thin. But there is a way to tick the laser to get a thicker line. The focus of the laser is very tight, so if you reduce your material slightly, the laser will lose focus and spread out. The way I do this is to put a piece of wood about 3/8 thick on the material I use and focus the laser on the wood. Then I run the laser on the vector settings ( With lower power setting and higher speed). The result is much thicker than the correct focus of the laser. There are two disadvantages to using this technology. First, the lines are a little soft, not as clear as the grating carving. Second, in the corner of the line bar, when the laser changes direction, it pauses a little bit so that the corner is burned a little deeper. There seems to be a small corner. I found this trick when a client wanted a bunch of wooden coasters designed with Celtic knots, but their budget was limited. It takes a long time to do the carving work, and the cost is too high ( About 5 to 7 minutes each). But by doing it as a distracting vector score, I cut the time to about every minute and reached the budget. Usually, you should get good edges in your laser engraving ( If your lens and focus are not checked). But if you want to give a little extra clarity to the edges of your engraving, here\'s a great trick. Add a fraction of the light vector to the edges of the engraving. Again, you need to use the image as a vector file. Select your image and add a fine stroke to the edge. Set the stroke for the vector cut when you set the laser, but turn off the power and increase the speed so it burns but does not go through the edge. After laser engraving, it will come back and burn a thin line around the edge. This is a big effect for type. Sometimes you need to hit the target area of the non-laser source. For example, a piece of scrap plastic that you have cut several shapes, but there is enough space between some old cuts to do new cuts. How do you accurately insert your new cut into the remaining space? First, the target area is measured to obtain its approximate size. Make sure there is plenty of room for what you want to cut off. The scarp material is then placed in the laser and measured from the origin of the laser down and through the target area. For example, a 1 \"by 2\" rectangle located in 2. 5 \"and 1 down from the top. End from the left edge 75. Then in your file, use the guide to mark the target area as the area on the scrap material and locate it in the distance from the origin. Place your design or crop in the target area. Make sure the guide does not print out and run the file. If you have measured everything correctly, your cut should be in the target area. Let\'s say you have a bunch of wooded coasters and you want to engrave your logo on it. You can put them at the origin of the laser at a time and carve them out one by one. But wouldn\'t it be better to lay out a few at a time and let the laser all carve? The trick is to create a grid where you can put the pieces on top and engrave the laser accurately on it. Create a new vector file of the same size as the laser bed. Then measure one of your shapes/items. If you can make it a great exact shape, but if you don\'t just come up with a good geometry like a circle or a square, it fits well into it. This will be the shape of your target. Create a target and locate your design ( Engraving or cutting)in the target. Now, copy the target and your design and paste as many copies as you can to fit the space of the laser bed. Tip: leave a little space between targets so you can set them without hitting targets around the target. Before printing the file, move the target to one layer and move the design to another layer. Then turn off the printing of the layer with your design. Cut a piece of cardboard into the size of the laser bed and put it into the laser. Now make sure to set the layer with the target to print. Carve, score, or cut the target shape into the card board. This will create a grid on the cardboard that matches the grid in the file. Now put the items you are going to engrave on the target marked on the cardboard. Don\'t forget to re-focus the laser on the top of what you are carving. You can now turn off the printing of the target layer and open the printing of the design layer. As long as you don\'t move the cardboard, you can continue to lay new parts, carve and repeat until you finish all the parts. The laser I use has the option to turn on the laser indicator that projects a red dot where the cutting/Engraving Laser is emitted. This helps to figure out where the laser will cut before you work on the material. Just turn off the laser power and turn on the red dot. Then run the file and observe the location of the red dot. One thing to note is that this works well with the vector line, the laser/Red dot tracking line, but not very well for the engraving that the laser passes through and the engraving of the entire engraving area. If I need to calculate the final position of the engraving with red dots, what I often do is draw a vector square or circle around the engraving and then let the red dots track the square. Or draw a horizontal and vertical center line.